← Exit
Module 4 · Creating a HACCP System0% complete · 16 slides left
HACCP Level 2
HACCP Level 2
Module 4
This course contains audio. Use headphones in public places.
Introduction
Introduction

Once the business has confirmed that effective prerequisites are in place, it is ready to start creating its HACCP system.

Before hazards can be identified and controls chosen, some important groundwork is needed. This includes choosing the HACCP team, describing the products and how they will be used, and drawing a flow diagram that shows how the process really works.

This module gives you an overview of these first steps, so that you understand how you can contribute to your own business’s HACCP system.
The Twelve Steps
The Twelve Steps

A HACCP system is created by following twelve steps, which apply the seven principles:

  • Steps 1 to 5: create the HACCP team, describe the products, identify their intended use and consumers, construct a flow diagram, and confirm it on site.
  • Step 6: carry out a hazard analysis.
  • Step 7: determine the critical control points.
  • Step 8: establish critical limits.
  • Step 9: monitor the critical control points.
  • Step 10: establish corrective actions.
  • Step 11: establish verification procedures.
  • Step 12: keep records and documentation.

This module covers steps 1 to 5.

Step 1: Create the HACCP Team

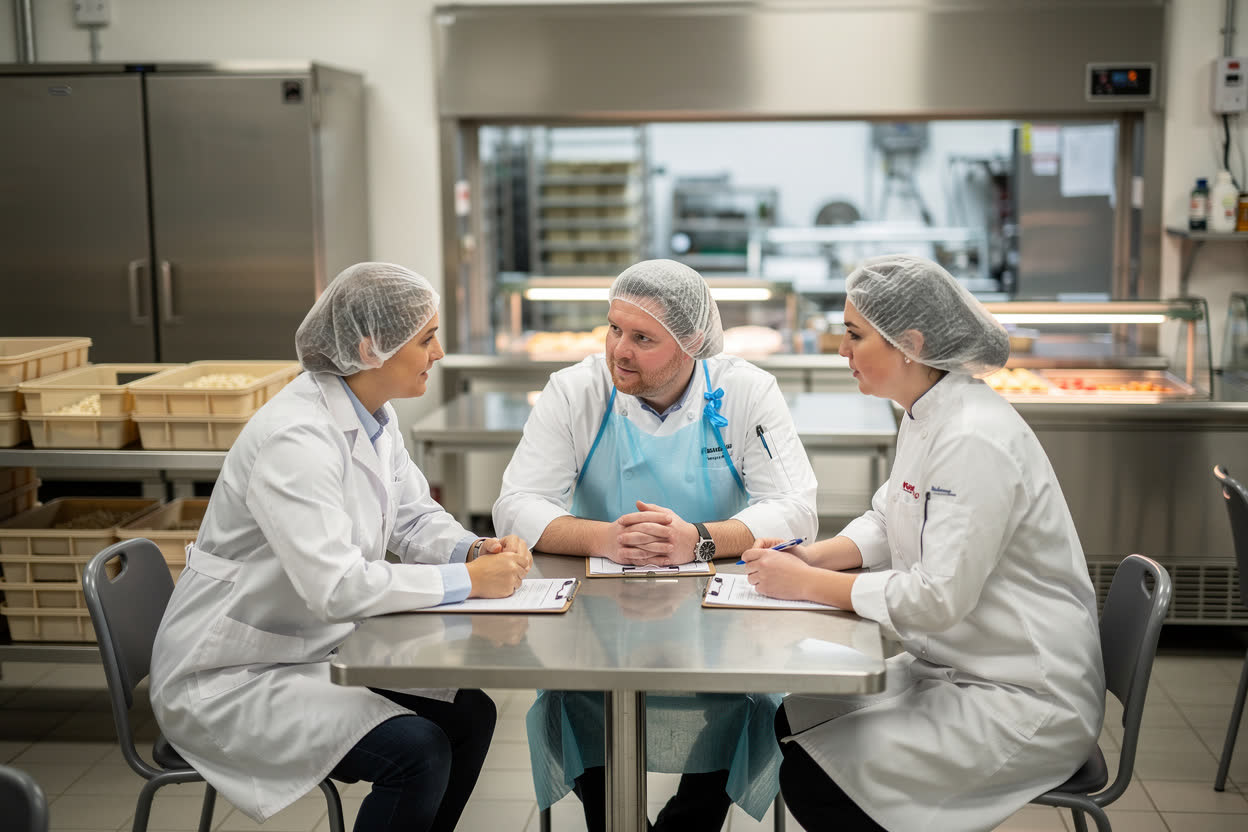
The first step is to decide who has the knowledge and authority to develop the HACCP system.

The plan is much easier to put into practice if someone from each area and level of the business is involved, so that every practical issue is considered. In a larger business, the team might include people from purchasing, production, engineering, maintenance, quality assurance and pest control, with outside consultants where needed.

A member of senior management is essential, to make decisions, provide resources and keep the project moving.

Training the HACCP Team

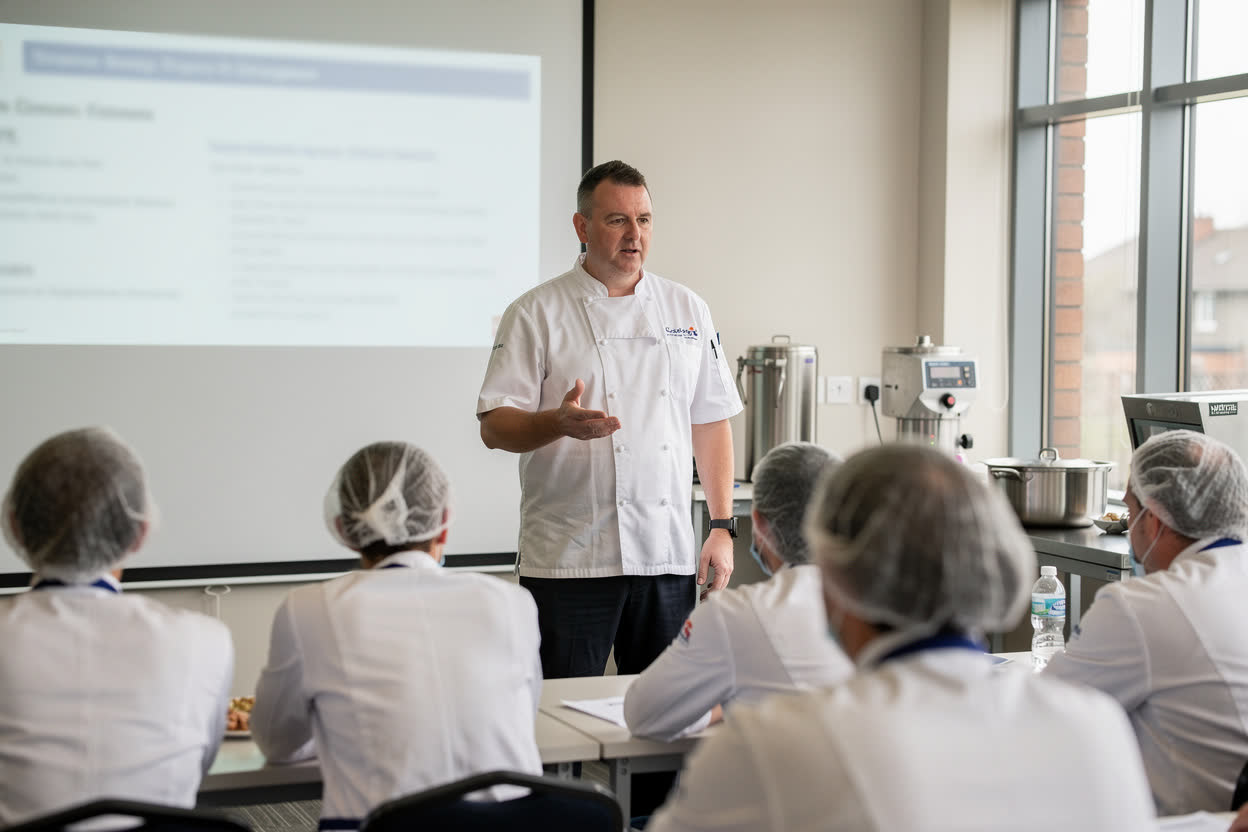
All members of the HACCP team must have received, and understood, adequate training in HACCP, so that they know what is involved in the process.

At least one senior member should have completed more advanced HACCP training, with in-depth knowledge of food safety management. The law requires the people who develop and manage HACCP procedures to be adequately trained.

Training records for the team should be kept as part of the HACCP documentation.

The Skills the Team Needs

To work well together, the team needs skills in:

  • Management and planning, to keep the project on track.
  • Hazard analysis and risk assessment.
  • Validation, to confirm that control measures work.
  • Assessment and auditing, to check that the system is followed.
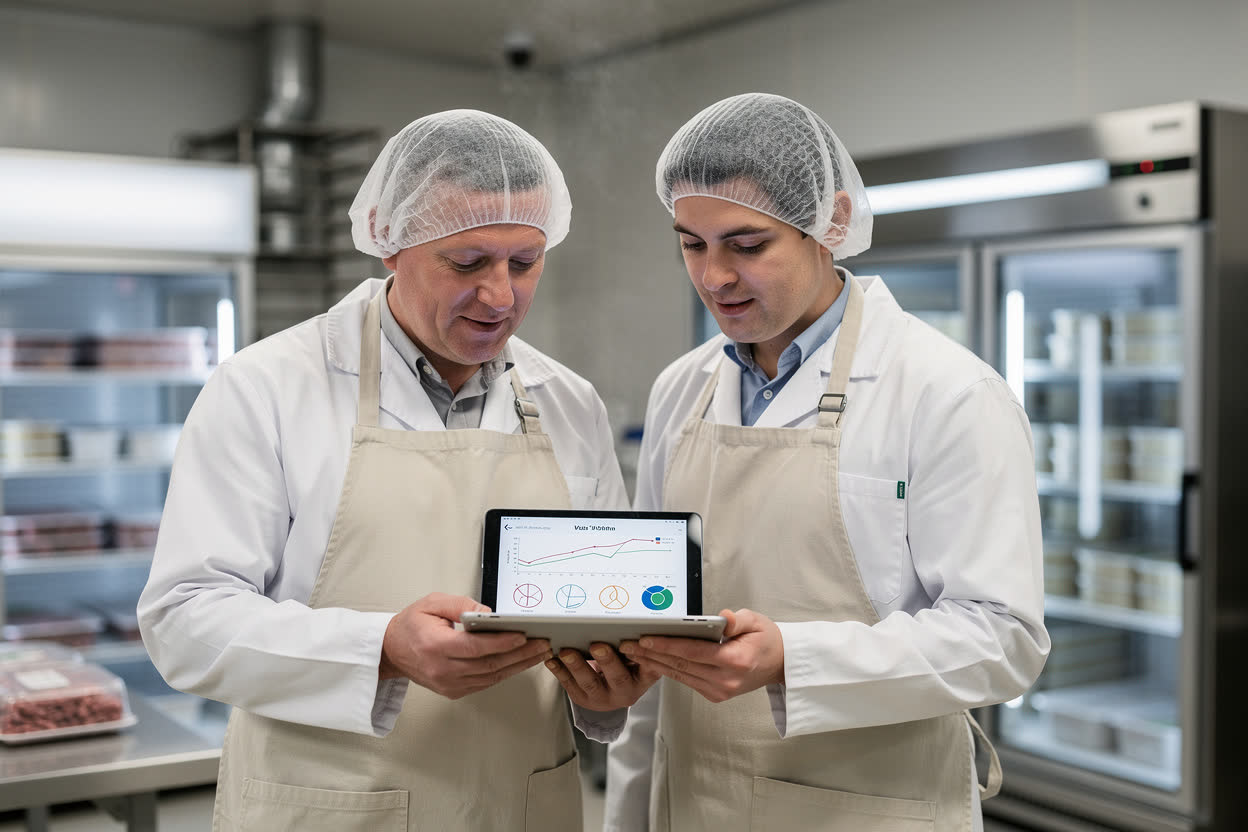
  • Data analysis, to spot trends in monitoring records.
  • Communication, so that all staff understand their roles.

Any gaps in these skills should be filled through training and development.

Step 2: Describe the Products

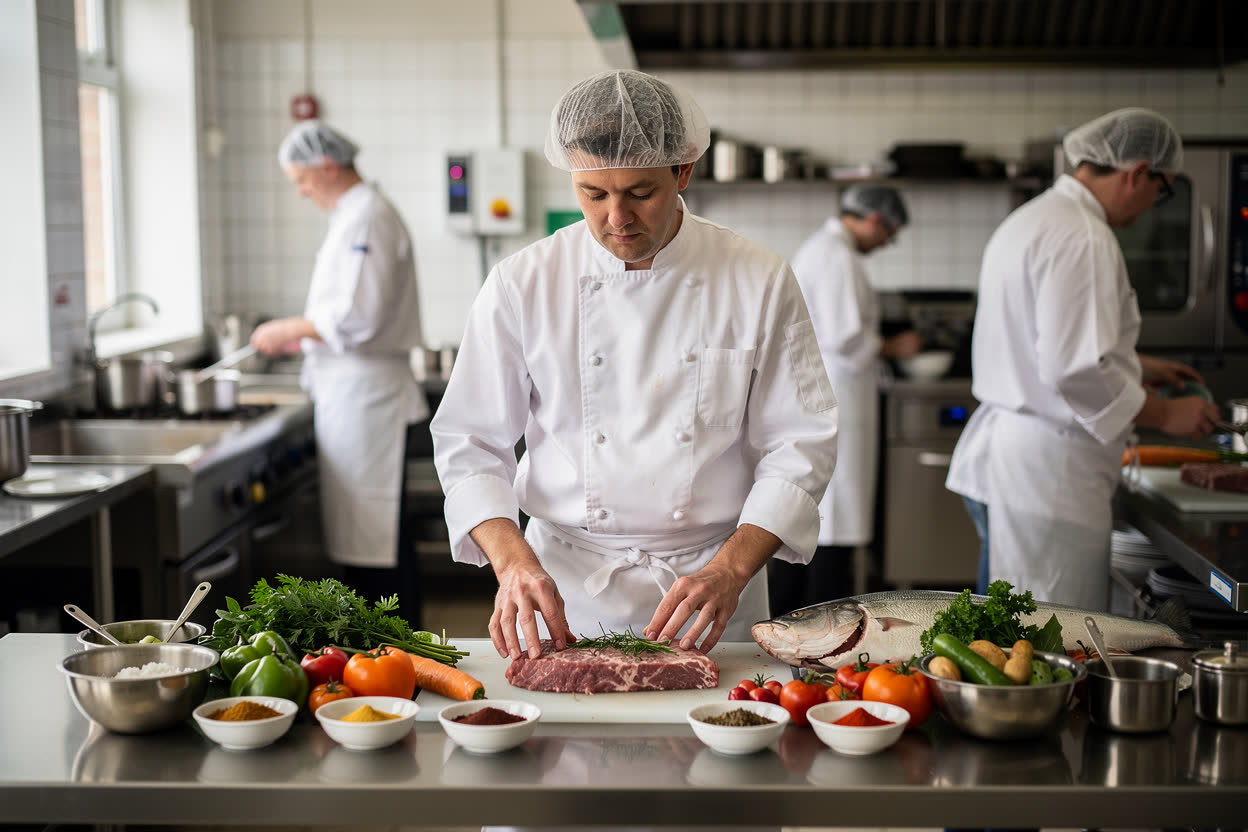
Before the hazard analysis can begin, the team must look at every product and ingredient the business uses, including where it comes from, how it is handled, and whether it contains allergens.

A full description of each product, and of the people it is intended for, gives a clear picture of the hazards that must be controlled.

Where a business makes many products, they can be grouped into categories, such as raw meat products, ready-to-eat foods or free-from products, with a description for each group.

What the Product Description Covers

A product description should include:

  • The name or category of the product.
  • All of its ingredients.
  • How it is processed, such as cooking, chilling or freezing.
  • How it is preserved, such as by refrigeration or vacuum packing.
  • Its packaging.
  • Its storage conditions, including temperature.
  • Its shelf life, and the use-by or best-before date.
  • Which of the 14 allergens it contains.
  • Who it is intended for.
  • Any legal requirements it must meet, such as labelling.
Packaging and the Level of Detail
The product description should also cover packaging requirements and any additives.The level of detail depends on the size of the business and how many high-risk products it handles.Descriptions must be kept up to date and available for inspection.
Packaging and the Level of Detail

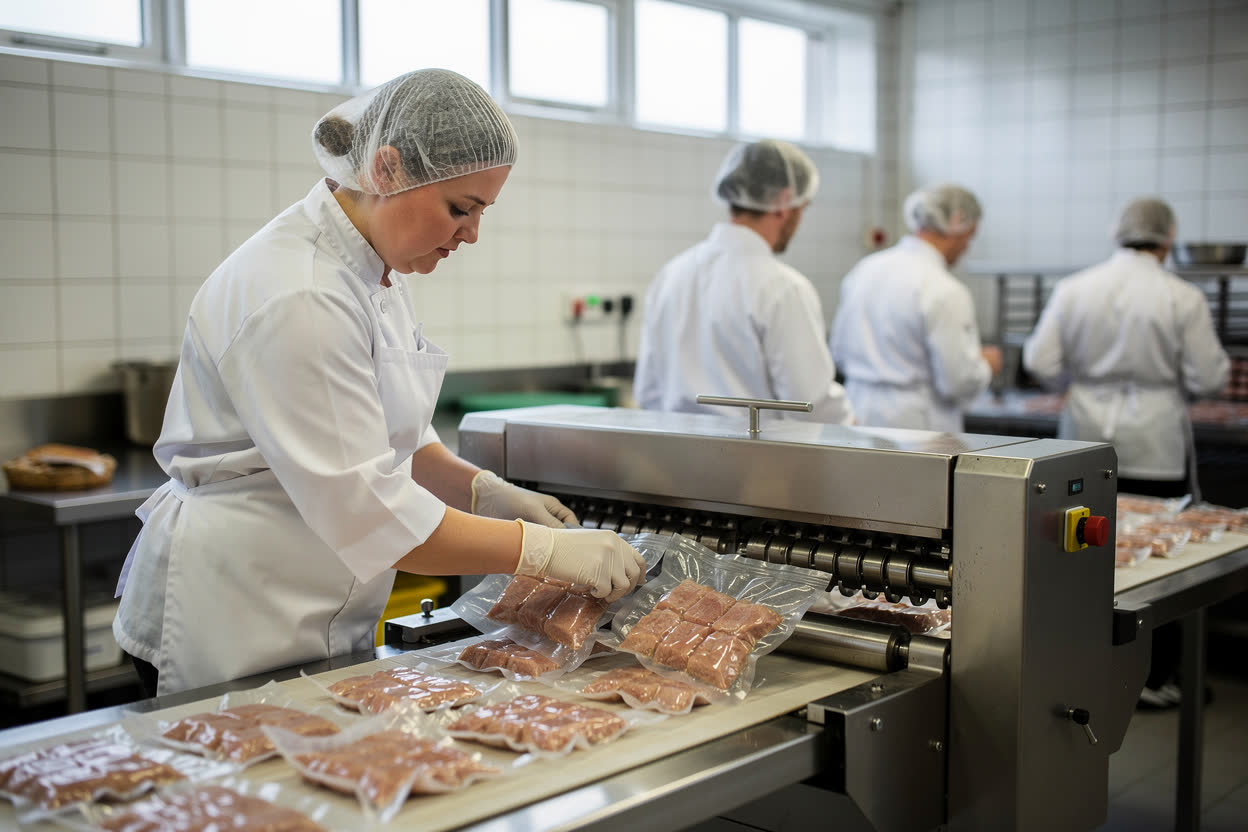
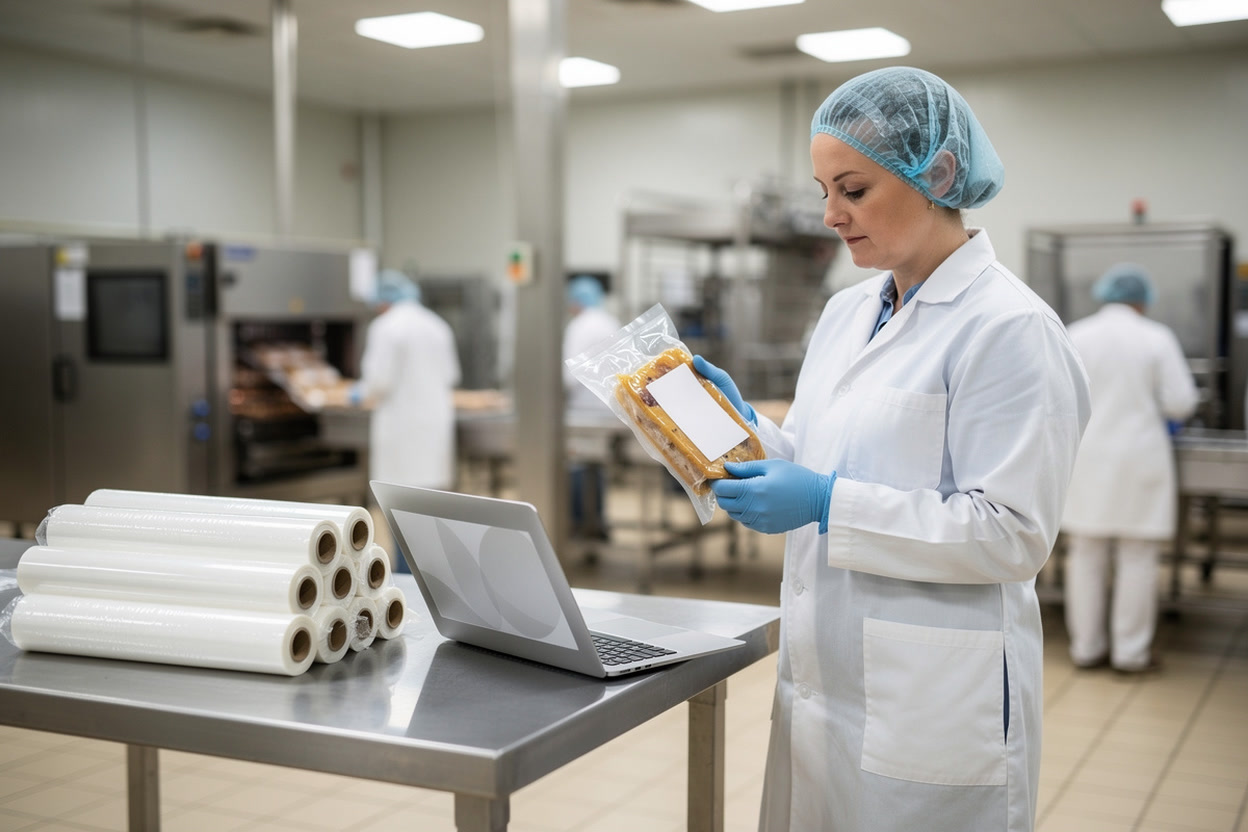
A product description is only useful if it gives the HACCP team the information it needs to spot hazards. As well as the name, ingredients, processing, preservation, storage and shelf life, the description should list every component, including any additives, and set out the packaging requirements, such as the materials used and any special conditions, for example whether a product must be vacuum packed or sealed against moisture.

Packaging matters because it can protect food, but it can also introduce chemical or physical hazards if the wrong material is used. The level of detail in these records will depend on the type and size of the operation, and on how many high-risk products and processes are involved. A small shop selling a few prepacked items needs far less than a manufacturer of chilled ready meals. Whatever the size, the descriptions must be kept up to date as recipes and suppliers change, and must be available for inspection by authorised officers.

Step 3: Intended Use and Consumers

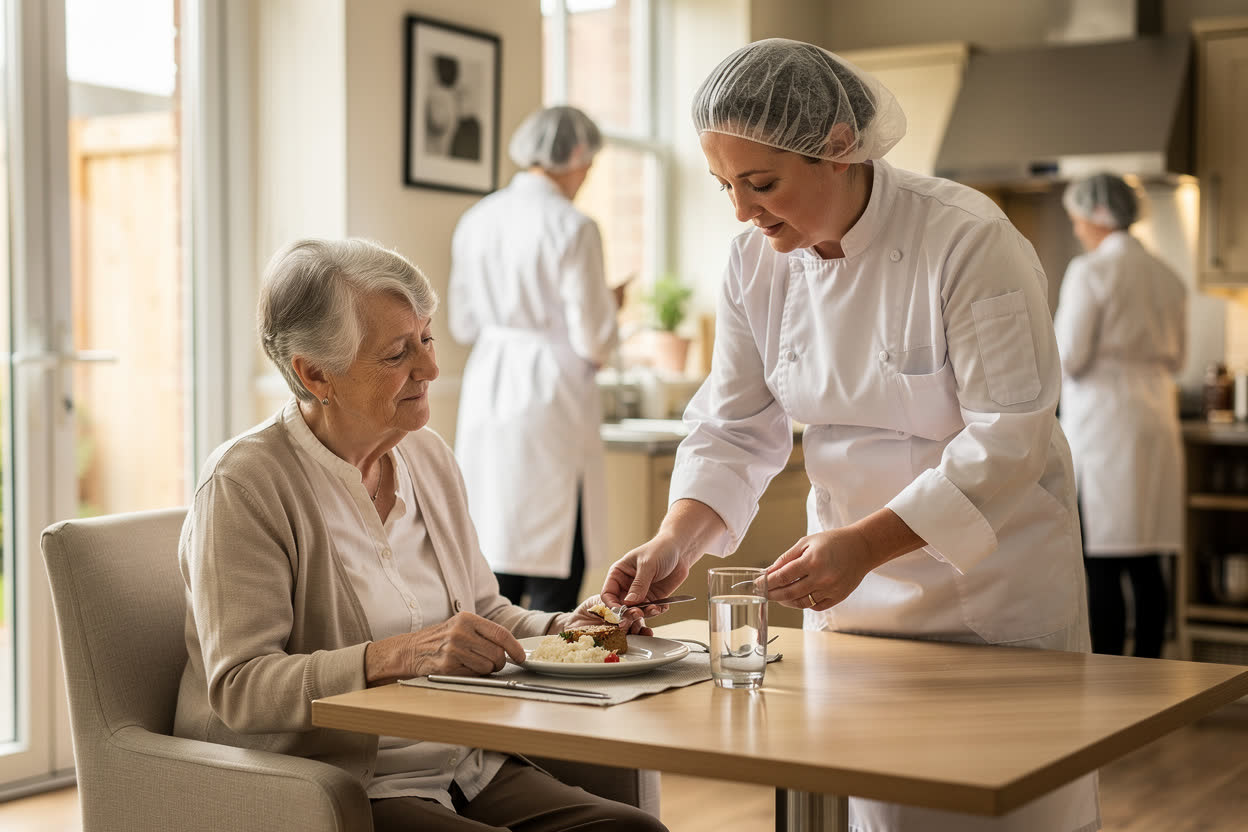
Step 3 protects people in at-risk groups, such as babies and young children, pregnant women, older people and people with weakened immune systems. It asks whether the product could become unsafe if it is not handled correctly.

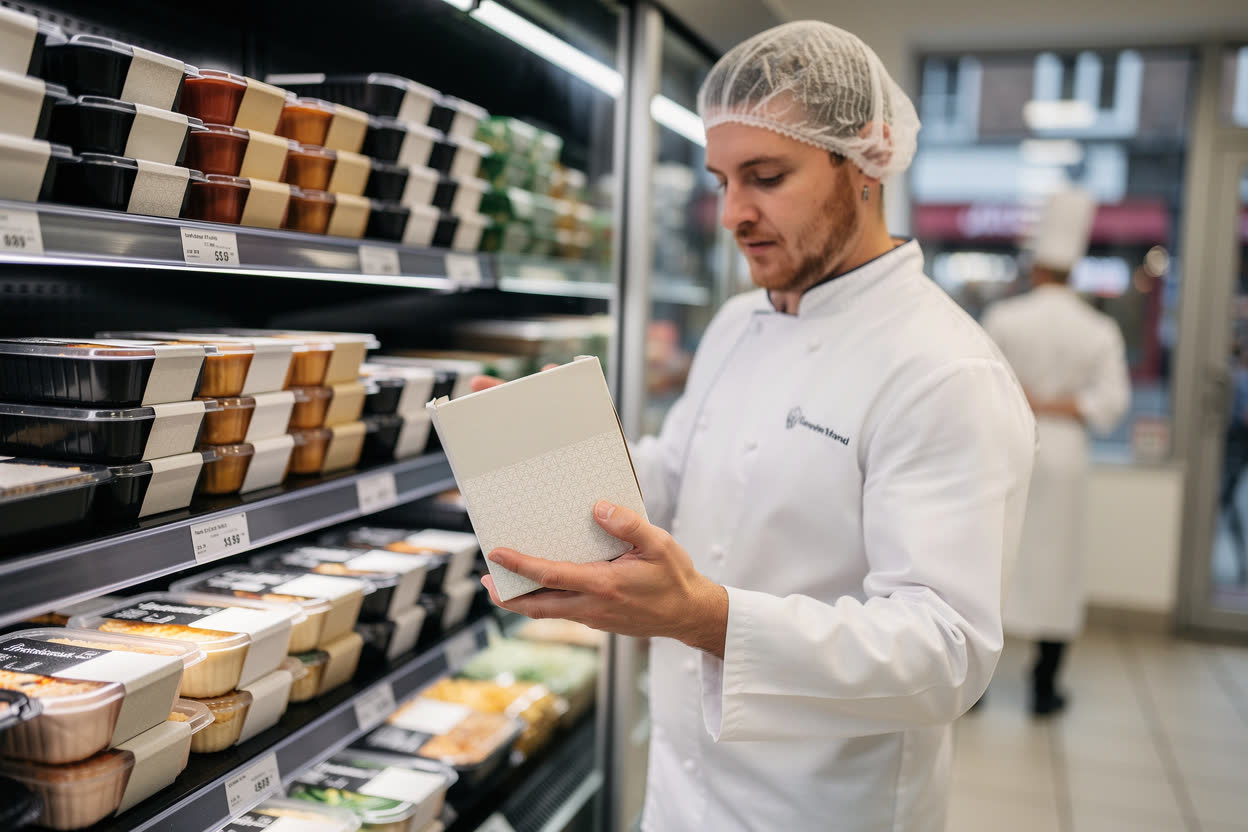
Record who the target customers are, and how the product is meant to be used. For example, will the customer buy it chilled and reheat it at home? Is it intended for young children? These answers affect how much control is needed.

How Products Can Become Unsafe

Even a product that leaves the business in perfect condition can become unsafe later. Common reasons include:

  • The consumer stores or cooks it incorrectly.
  • Use-by or best-before dates are not followed.
  • Allergen information is missing, unclear or wrong.

Clear storage instructions, cooking instructions, date marks and allergen information all help to keep the consumer safe once the food has left your hands.

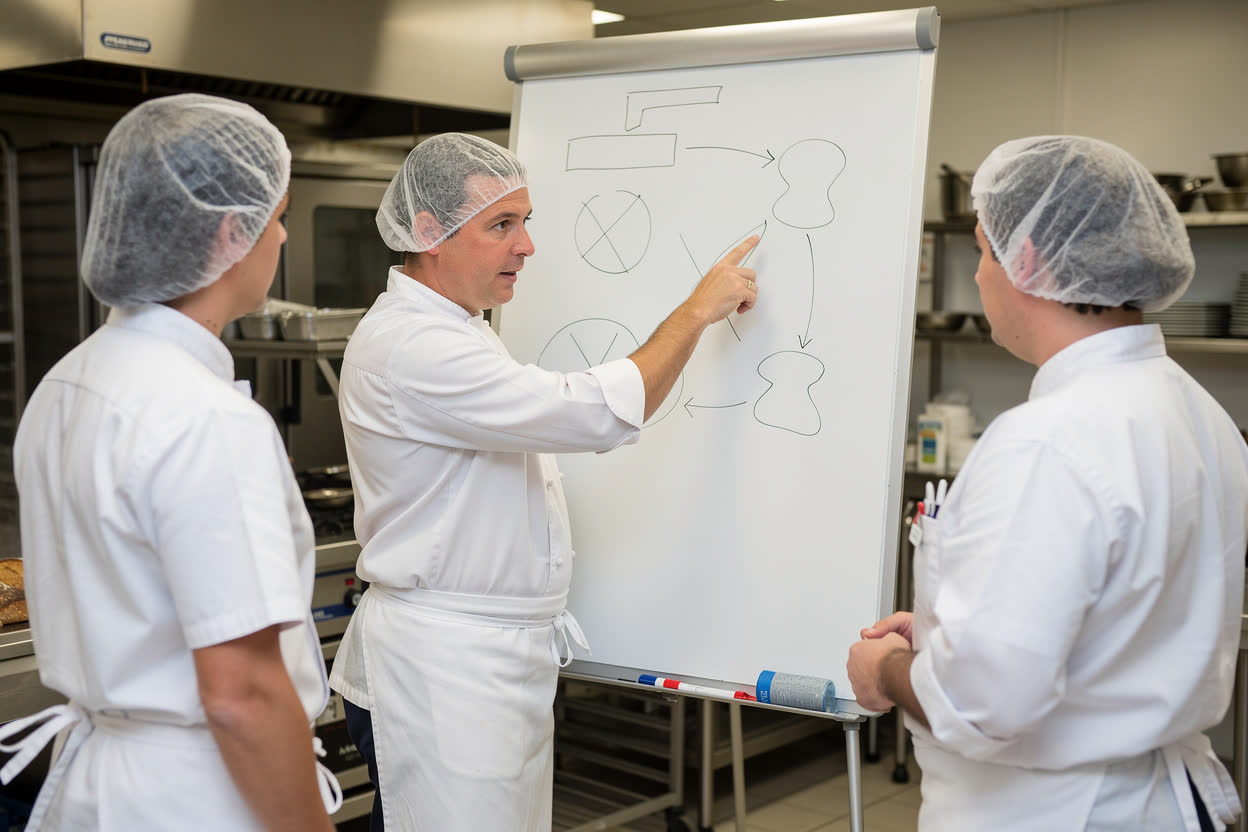
Step 4: Construct a Flow Diagram

A flow diagram shows every step in the life of a product, from receiving the raw materials to the point of sale or service. It should include:

  • How raw ingredients are received and checked.
  • Where products are stored: chilled, frozen or ambient.
  • Each preparation and processing step.
  • How products are packed, labelled and distributed.
  • The temperature controls at each stage.
  • Any points where the product may be delayed or held up.

Include as much detail as needed to show that the whole process is under control.

Delays, Busy Periods and Technical Detail
Show where products may be held up, for example during busy service periods.Mark the stages where there is a risk of cross-contamination, and the allergen labelling steps.Every business's flow diagram is different; include as much technical detail as needed.
Delays, Busy Periods and Technical Detail

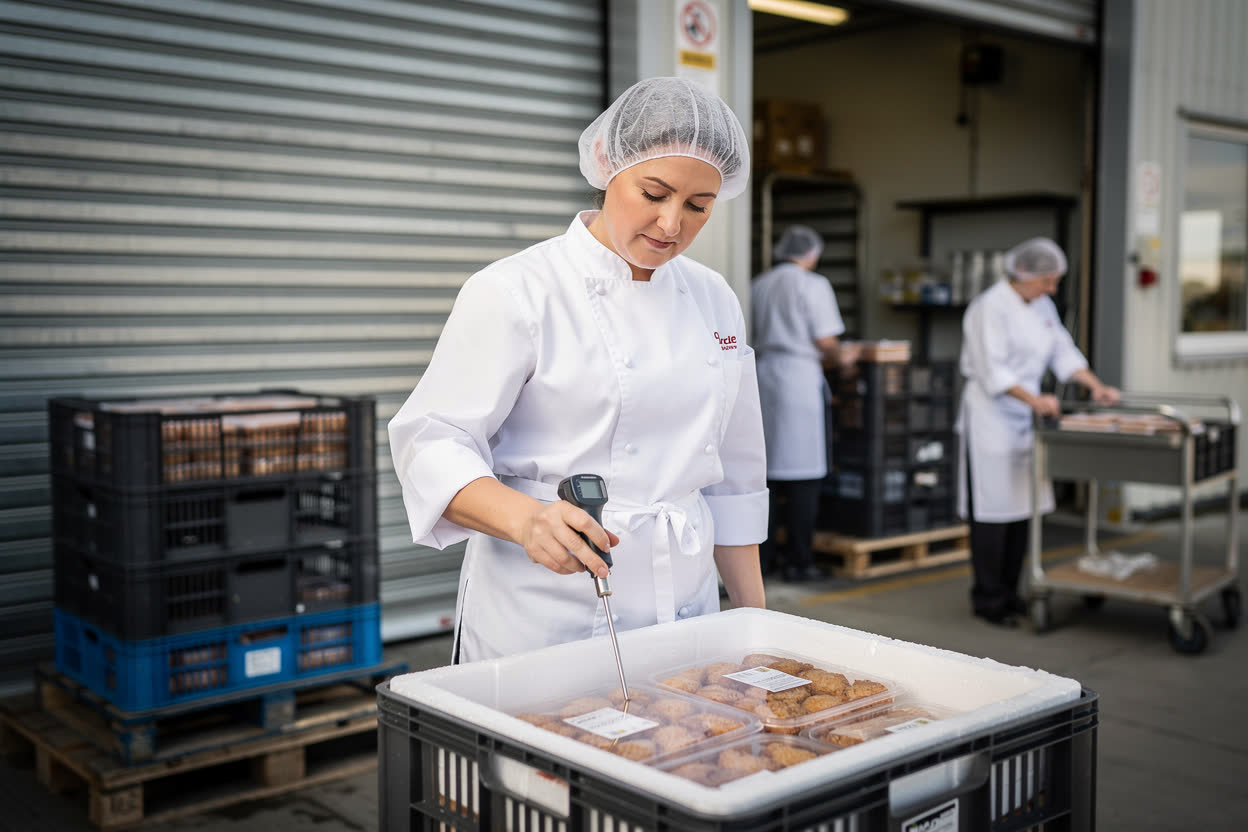
A flow diagram is most useful when it shows the real pressures on a process, not just the ideal route. Include the points where products may be delayed or held up, such as during busy service periods, when food may sit at room temperature longer than planned. Show the delivery checks and temperature verification when raw ingredients arrive, and the chilled, frozen and ambient storage areas they move into.

Mark each point where the product or ingredient is used in preparation or processing, and highlight any stages where cross-contamination risks exist, such as shared equipment or work surfaces. Where products are packed and labelled, include the allergen labelling steps, because an error there can be as dangerous as a cooking failure. The list is not fixed. Different businesses will have different steps, depending on what they do, and you should include as much technical detail as needed to show that the process is fully controlled and complies with food safety law.

An Example Flow Diagram

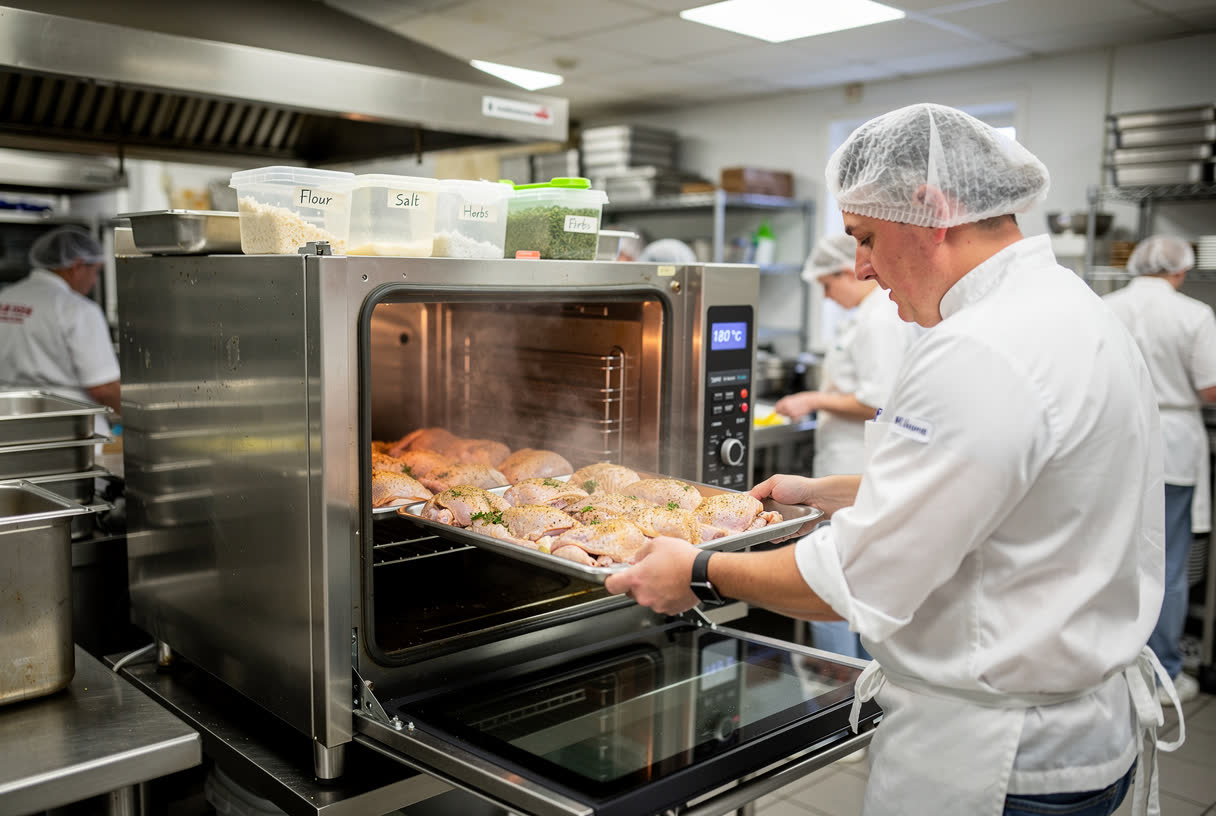
Every business will have different steps. A simple flow diagram for a cooked chicken dish in a restaurant might be:

  • Delivery of raw chicken.
  • Chilled storage.
  • Preparation.
  • Cooking.
  • Hot holding and service, or cooling and chilled storage for later use.
  • Reheating, if the dish is served later.

Each box on the diagram is a step where hazards can be looked for in the hazard analysis.

Step 5: Confirm the Flow Diagram

The flow diagram must be confirmed on the premises, to make sure that it accurately shows what actually happens, not what should ideally happen.

Walk through each step during normal working hours. It helps if someone outside the HACCP team checks it too. To confirm the diagram:

  • Walk the route of the process, and talk to the staff involved.
  • Check with different workers, and on different shifts.
  • Look for anything that has been missed, or that is done differently, and update the diagram.
Summary

In this module, you have learned that:

A HACCP system is created in twelve steps, starting with a trained HACCP team drawn from across the business.

The team describes each product, and identifies how it will be used and by whom, including at-risk groups.

A flow diagram shows every step of the process, and must be confirmed on the premises to make sure it is accurate.

In the next module, we will look at hazard analysis, critical control points and critical limits.

Knowledge Check
Why should the flow diagram be confirmed by walking through the process on the premises?
Select one answer, then press Check.
To make sure it accurately shows what actually happens
To work out how long each step takes
To decide which staff should join the HACCP team
To calculate the cost of each ingredient
Correct. The flow diagram must show what really happens, on every shift, not what should ideally happen.
Not quite. Confirming the flow diagram is about accuracy, not timing or cost. Try again.
Next Module →Answer the question to unlock the next module.
Page 1 of 17