← Exit
Module 2 · The Secondary Survey0% complete · 19 slides left
First Aid
First Aid
Module 2
This course contains audio. Use headphones in public places.
Introduction
Introduction

Once the primary survey is complete, and the casualty has no immediate threat to life, move on to the secondary survey. It helps you find out what happened, treat bleeding, burns and fractures, and find any other injuries or illnesses.

The information you gather is vital when you hand over to the ambulance crew, and to the emergency department team that takes over care.

In this module, you will also learn the recovery position, and how to deal with choking, wounds, bleeding and shock.
The Secondary Survey

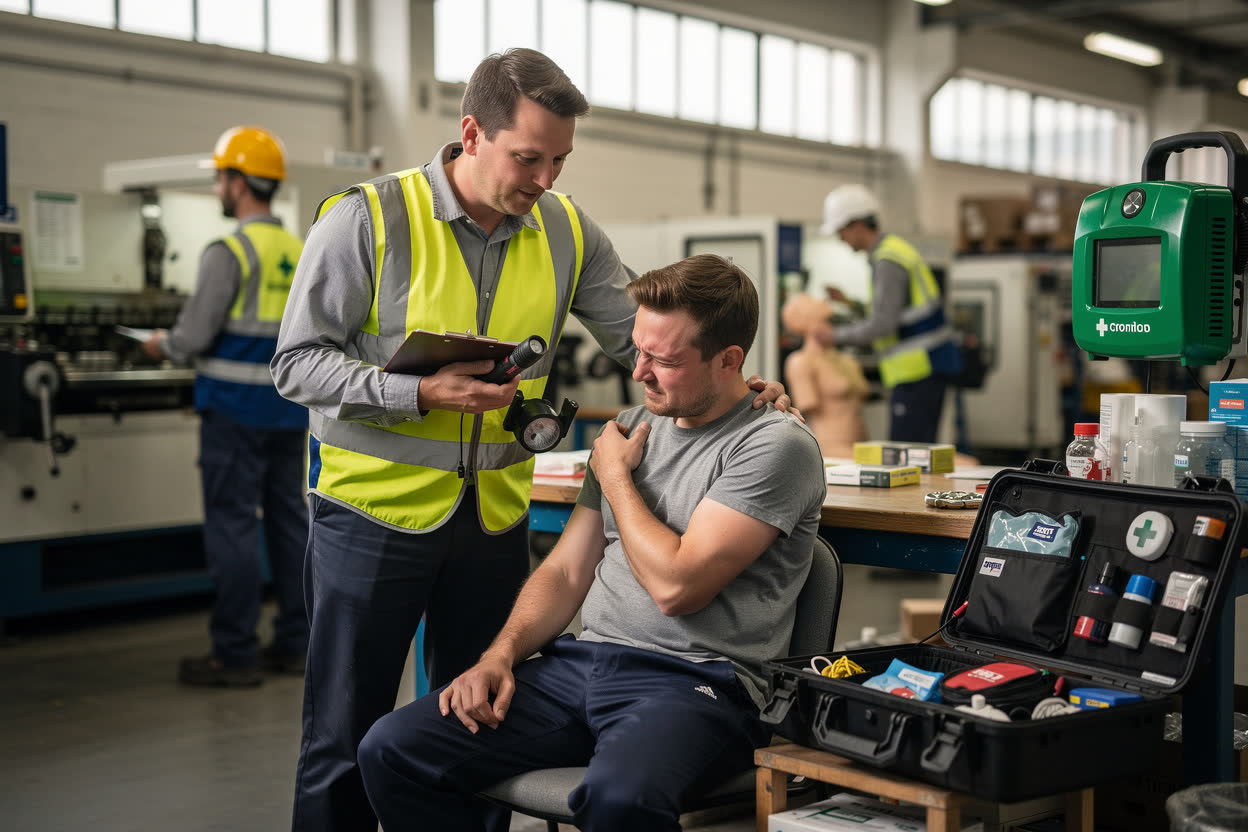
At this stage, you are gathering information. Use your senses, and ask:

  • What happened? Ask the casualty, or witnesses, how the injury or illness came about.
  • Where does it hurt? Ask the casualty to show you, and to rate the pain from 1 to 10.
  • What can you see? Look for bleeding, swelling or anything out of place.
  • What can you feel? Gently feel for swelling, tenderness or deformity.
  • What can you smell? For example, a sweet, fruity smell on the breath can be a sign of diabetes.
Taking a History
Taking a History

If the casualty is responsive, find out as much as you can about their health and what led up to the incident. Ask about:

  • Any allergies.
  • Medicines they take regularly.
  • Any previous medical problems.
  • When they last ate or drank.
  • What happened just before the incident.
  • Where the pain is, and what it feels like.

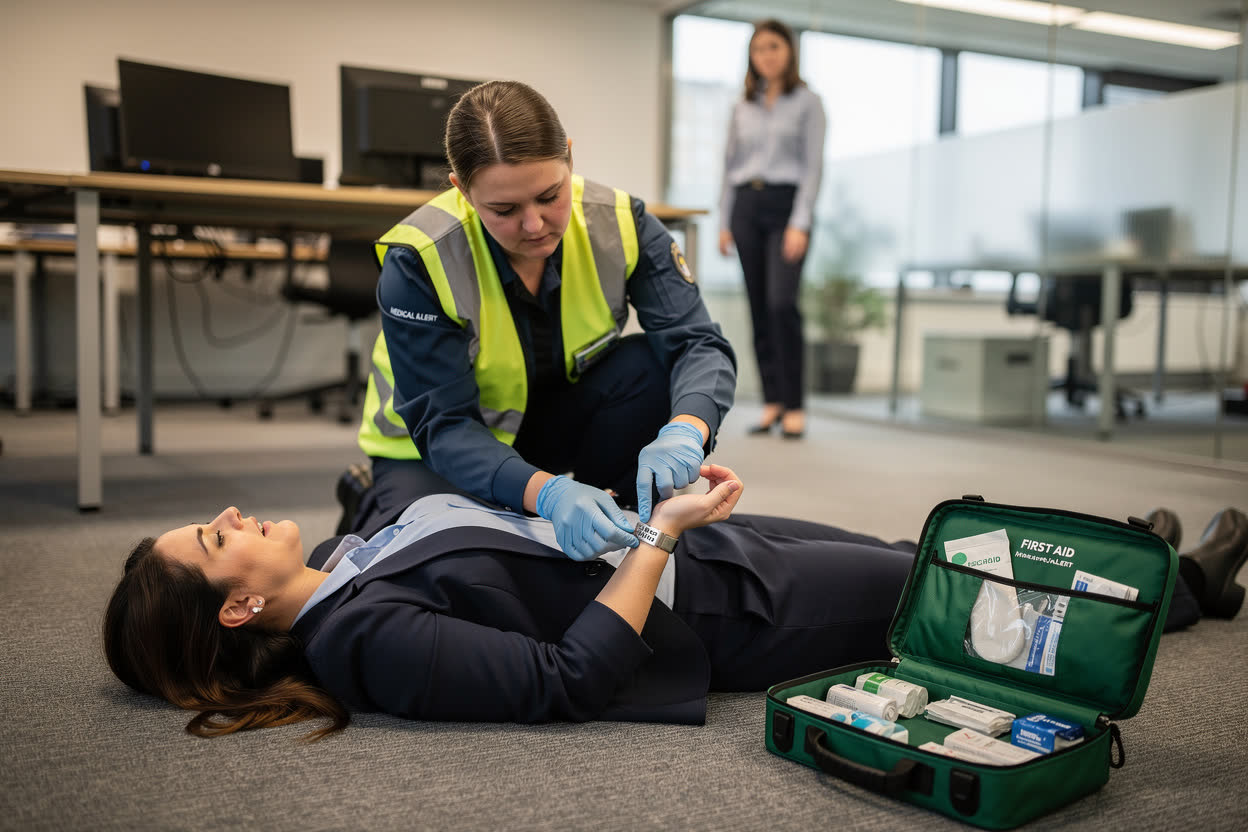
If the casualty is unresponsive, look for a medical alert bracelet or necklace, a medicine card or other clues, and pass them to the ambulance crew.

The Head-to-Toe Check

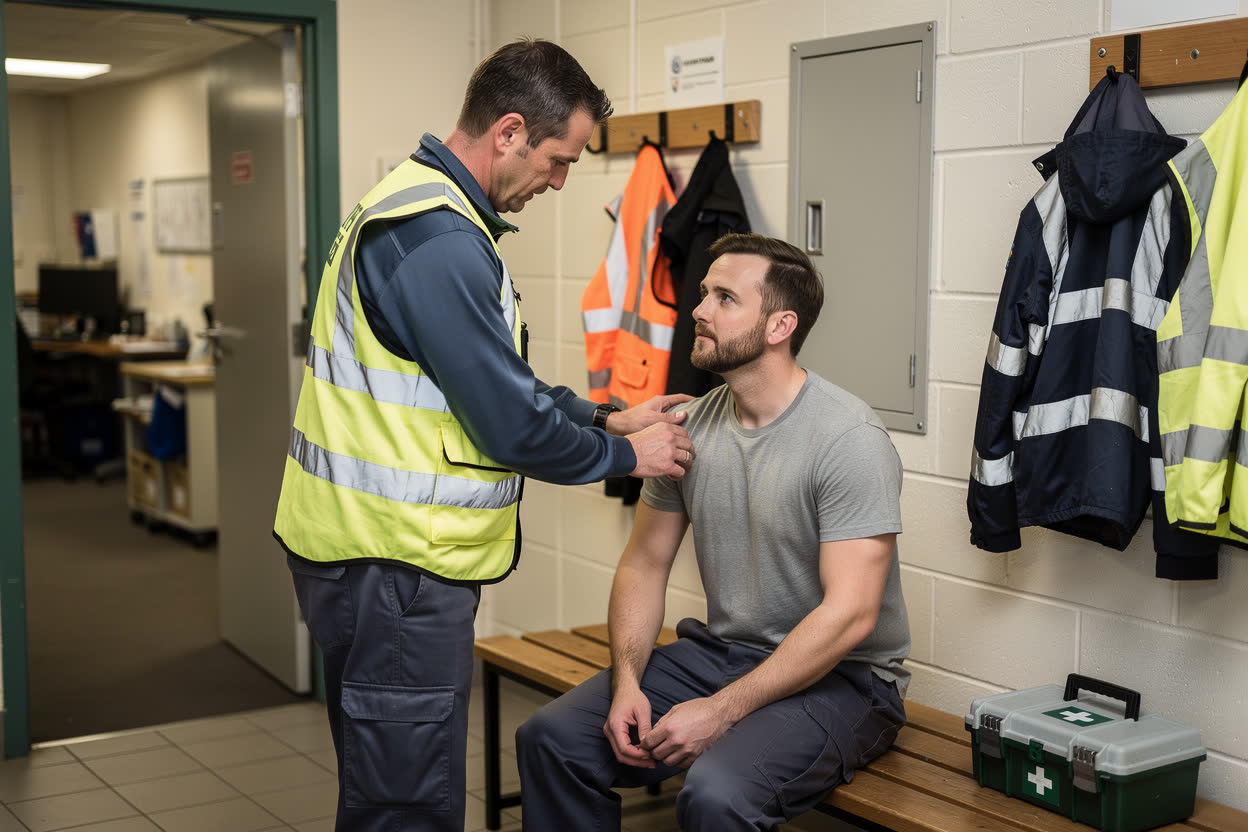
The secondary survey includes a careful check of the whole body, from head to toe, for injuries or signs of illness. Do not focus only on the obvious injury, because a painful injury can hide another one.

If the casualty is responsive, explain what you are doing, and ask permission before you move or remove any clothing. Treat them with dignity and respect.

Note everything you find, and pass it on to the ambulance crew. The check also lets you treat minor injuries, and keep the casualty comfortable and reassured.

What to Look For
What to Look For

During the head-to-toe check, look for:

  • The rate and quality of breathing.
  • Any bleeding.
  • Swelling or deformity of the head and neck, and fluid or blood from the ears or nose.
  • The size of the pupils, and whether they are equal.
  • The colour and temperature of the skin.
  • Deformity of the spine, ribs, collarbones, arms or legs.
  • Tenderness in the abdomen, and feeling in the fingers and toes.

Compare one side of the body with the other, for example both shoulders, to spot any difference.

When to Call an Ambulance

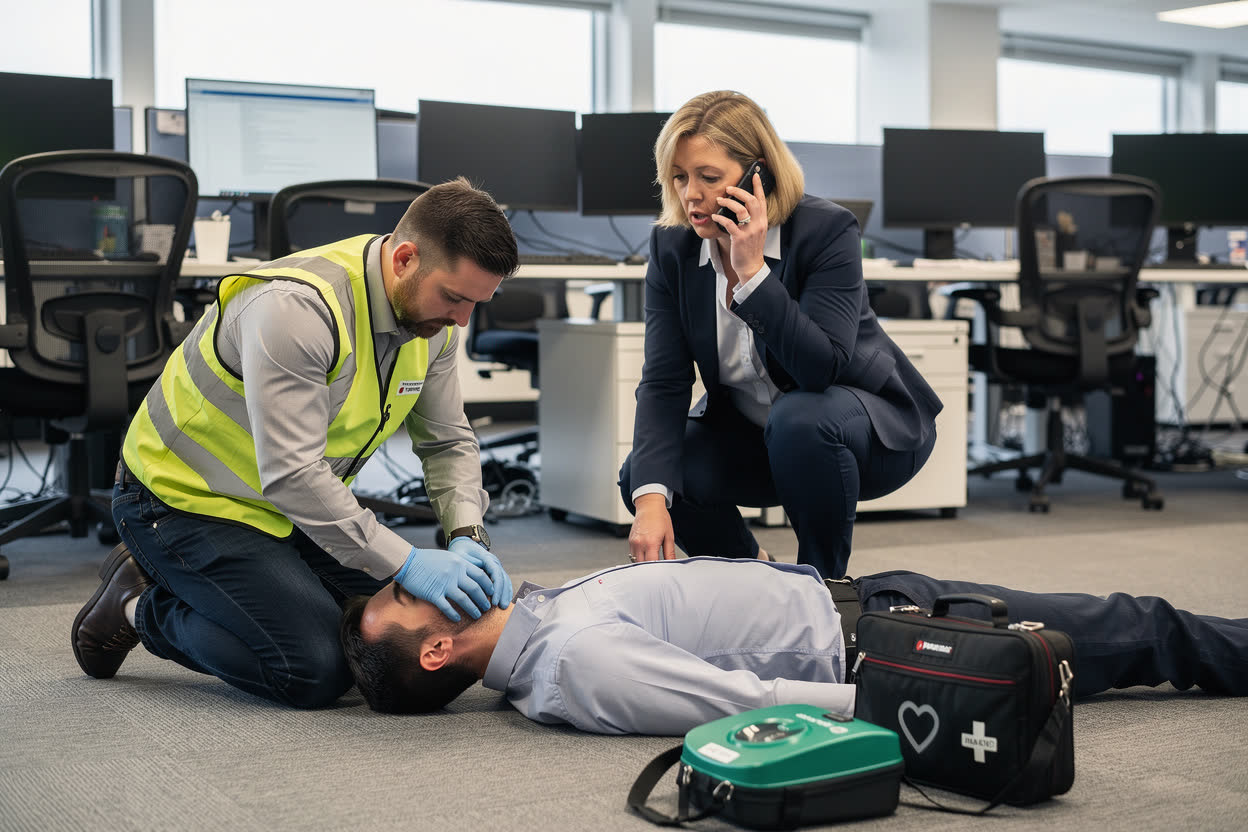
Call 999 or 112 for an ambulance straight away if:

  • The scene is not safe for you to approach.
  • The casualty is unresponsive and not breathing normally.
  • The primary survey finds a serious or life-threatening condition.
  • The secondary survey finds injuries that need urgent medical attention.

If you are unsure whether it is urgent, call NHS 111 or the GP out-of-hours service for advice. If in doubt, call 999 and ask for an ambulance.

The Recovery Position

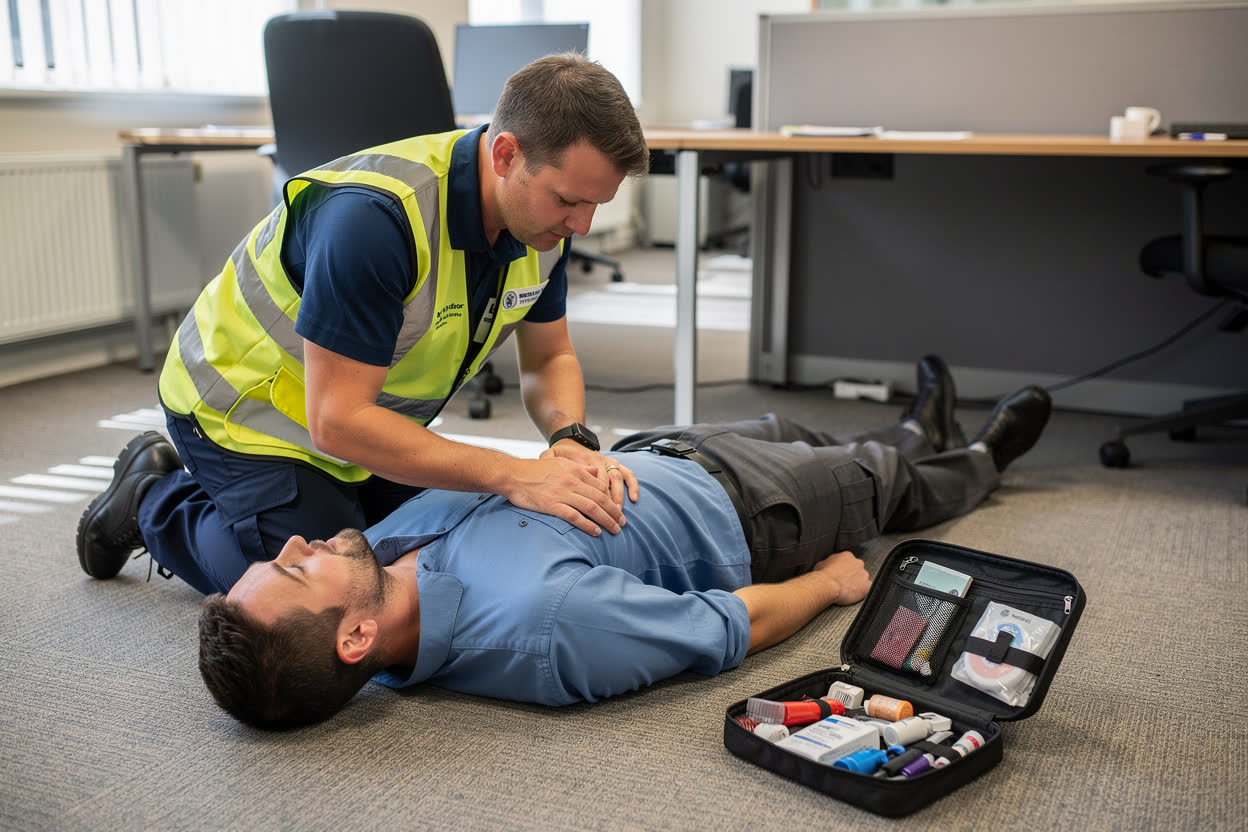
If the casualty is unresponsive but breathing normally, place them in the recovery position. Lying on their side keeps the airway open, and lets vomit or fluid drain from the mouth instead of blocking the throat.

This can save their life while you wait for the ambulance to arrive.

Do not use the recovery position for someone who is not breathing normally. They need CPR. A casualty who is responsive and breathing normally can usually stay in the position they find most comfortable.

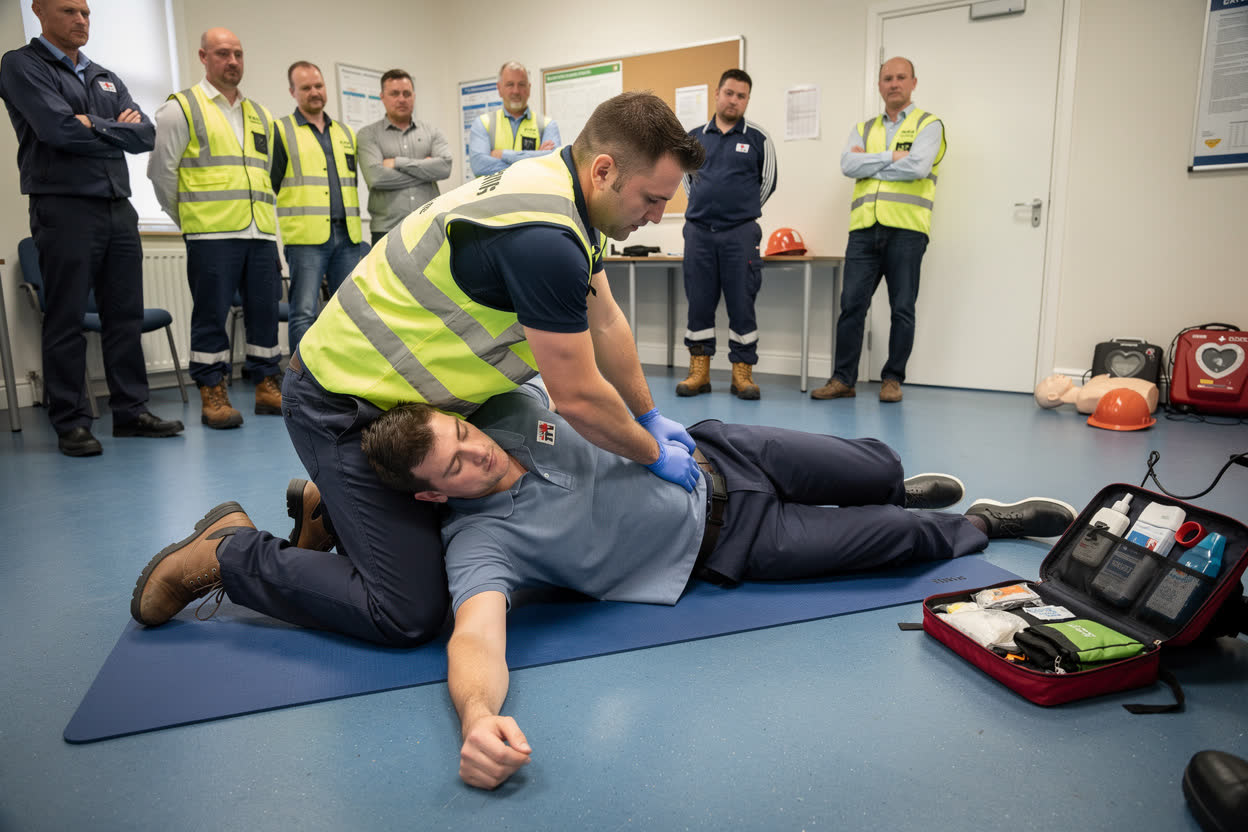
Placing Someone in the Recovery Position

With the casualty lying on their back:

  • Remove their glasses, and straighten their legs.
  • Place the arm nearest you out at a right angle, with the elbow bent and the palm facing up.
  • Bring the far arm across the chest, and hold the back of their hand against the cheek nearest you.
  • With your other hand, bend the far knee up, keeping the foot flat on the ground.
  • Pull on the bent knee to roll them towards you onto their side.
  • Adjust the top leg so the hip and knee are at right angles, and tilt the head back to keep the airway open.
Unresponsive Casualties

Many things can make a person unresponsive, including:

  • Fainting.
  • Being too hot or too cold.
  • Shock, or a head injury.
  • A stroke or a heart attack.
  • A severe allergic reaction, called anaphylaxis.
  • Poisoning, epilepsy or diabetes.

Whatever the cause, complete the primary survey first. Once they are in the recovery position, keep checking their breathing until help arrives. If they stop breathing normally, turn them onto their back and start CPR.

Choking
Choking

Choking happens when something blocks the airway. A person with a mild blockage can still speak, cough and breathe. With a severe blockage, they cannot speak, cough or breathe, and they may clutch their throat.

  • First, encourage them to keep coughing.
  • If coughing does not work, lean them forward, and give up to 5 sharp back blows between the shoulder blades with the heel of your hand.
  • Check after each blow whether the blockage has cleared.
Choking: Abdominal Thrusts

If back blows do not work, give up to 5 abdominal thrusts:

  • Stand behind the person, and put your arms around their upper abdomen.
  • Make a fist with one hand, and place it between the belly button and the bottom of the breastbone.
  • Grasp your fist with your other hand, and pull sharply inwards and upwards.

Keep alternating 5 back blows with 5 abdominal thrusts. If the blockage does not clear, call 999 or 112. If they become unresponsive, start CPR. Anyone who has had abdominal thrusts must be checked by a doctor.

Wounds
Wounds

You may find bleeding during the primary or secondary survey. The main types of wound are:

  • Abrasions, or grazes, where the skin is scraped against a rough surface.
  • Contusions, or bruises, caused by a blow that makes blood vessels bleed under the skin.
  • Incisions, which are clean cuts, for example from a blade, and may be deep.
  • Lacerations, which are jagged tears, for example from machinery, barbed wire or an animal bite.
  • Puncture wounds, which have a small entry point but may be deep, with a high risk of infection.
Treating Minor Wounds

Always wear disposable gloves when you deal with a wound. They protect you and the casualty from infection.

  • Sit the casualty down.
  • Check the wound for foreign objects, but never remove anything that is embedded.
  • Rinse a minor wound under clean running water, or clean it with alcohol-free wipes.
  • Pat the area dry with sterile gauze.
  • If it is bleeding, press on it with a clean pad until it stops.
  • Cover it with a sterile dressing or plaster.

Wash your hands before and after, and dispose of used materials safely.

Severe Bleeding
Severe Bleeding

Severe bleeding is life-threatening. Act fast:

  • Put on gloves if they are close to hand, but do not delay.
  • Press firmly and directly on the wound with a sterile dressing or a clean pad, and keep pressing.
  • Call 999 or 112, or get someone else to call.
  • Help the casualty to lie down, and watch for signs of shock.
  • If something is embedded in the wound, do not remove it. Press around it, and pad on either side.

Do not tie tight bands around a limb. Tourniquets are only for life-threatening limb bleeding, used by people trained to use them.

Dressings and Bandages

Dressings help to control bleeding and protect a wound from infection. Bandages hold dressings in place, and give support.

  • Wear gloves, to protect yourself and the casualty.
  • Choose a dressing larger than the wound, and apply it firmly.
  • If blood soaks through, put another dressing on top. Do not remove the first one.
  • Bandage firmly, but not so tightly that it stops the circulation. Check that fingers or toes stay warm and pink.
  • Never remove an embedded object. Pad around it, and get medical help.
Shock
Shock

Shock is a life-threatening condition in which not enough blood and oxygen reach the vital organs. It is not the same as an emotional shock.

It can be caused by severe bleeding or other fluid loss, called hypovolaemic shock, by a severe allergy, called anaphylactic shock, or by heart problems, serious burns or severe infection. The signs include:

  • Pale, grey or bluish skin that is cold and clammy.
  • Fast, shallow breathing, and a fast, weak pulse.
  • Yawning, sighing, thirst or confusion.
  • In severe cases, becoming unresponsive.
Treating Shock
Treating Shock

If you think someone is in shock:

  • Treat the cause, for example by controlling bleeding.
  • Help them lie down, and raise and support their legs, unless you suspect an injury to the legs, hips or spine.
  • Call 999 or 112, or ask someone to call, and say that you think the casualty is in shock.
  • Loosen tight clothing around the neck, chest and waist.
  • Keep them warm with a coat or blanket, and reassure them.
  • Do not give them anything to eat or drink.
  • Monitor their breathing and responsiveness until help arrives.
Summary

In this module, you have learned that:

The secondary survey includes a check of the whole body from head to toe, to find every injury and sign of illness.

A casualty who is unresponsive but breathing normally should be placed in the recovery position.

Wear gloves when treating wounds. For shock, lay the casualty down, raise their legs, keep them warm and give nothing to eat or drink.

In the next module, we will look at burns, eye and head injuries, fractures, dislocations and spinal injuries.

Knowledge Check
When should you place a casualty in the recovery position?
Select one answer, then press Check.
When they are responsive and breathing normally
When they are unresponsive and not breathing normally
When they are able to speak with you
When they are unresponsive but breathing normally
Correct. The recovery position keeps the airway of an unresponsive, breathing casualty open. Someone who is not breathing normally needs CPR.
Not quite. Think about who cannot protect their own airway, but does not need CPR. Try again.
Next Module →Answer the question to unlock the next module.
Page 1 of 20