← Exit
Module 5 · Control Measures: Part Two0% complete · 23 slides left
Working in Confined Spaces
Module 5
This course contains audio. Use headphones in public places.
More Controls for Changing Conditions

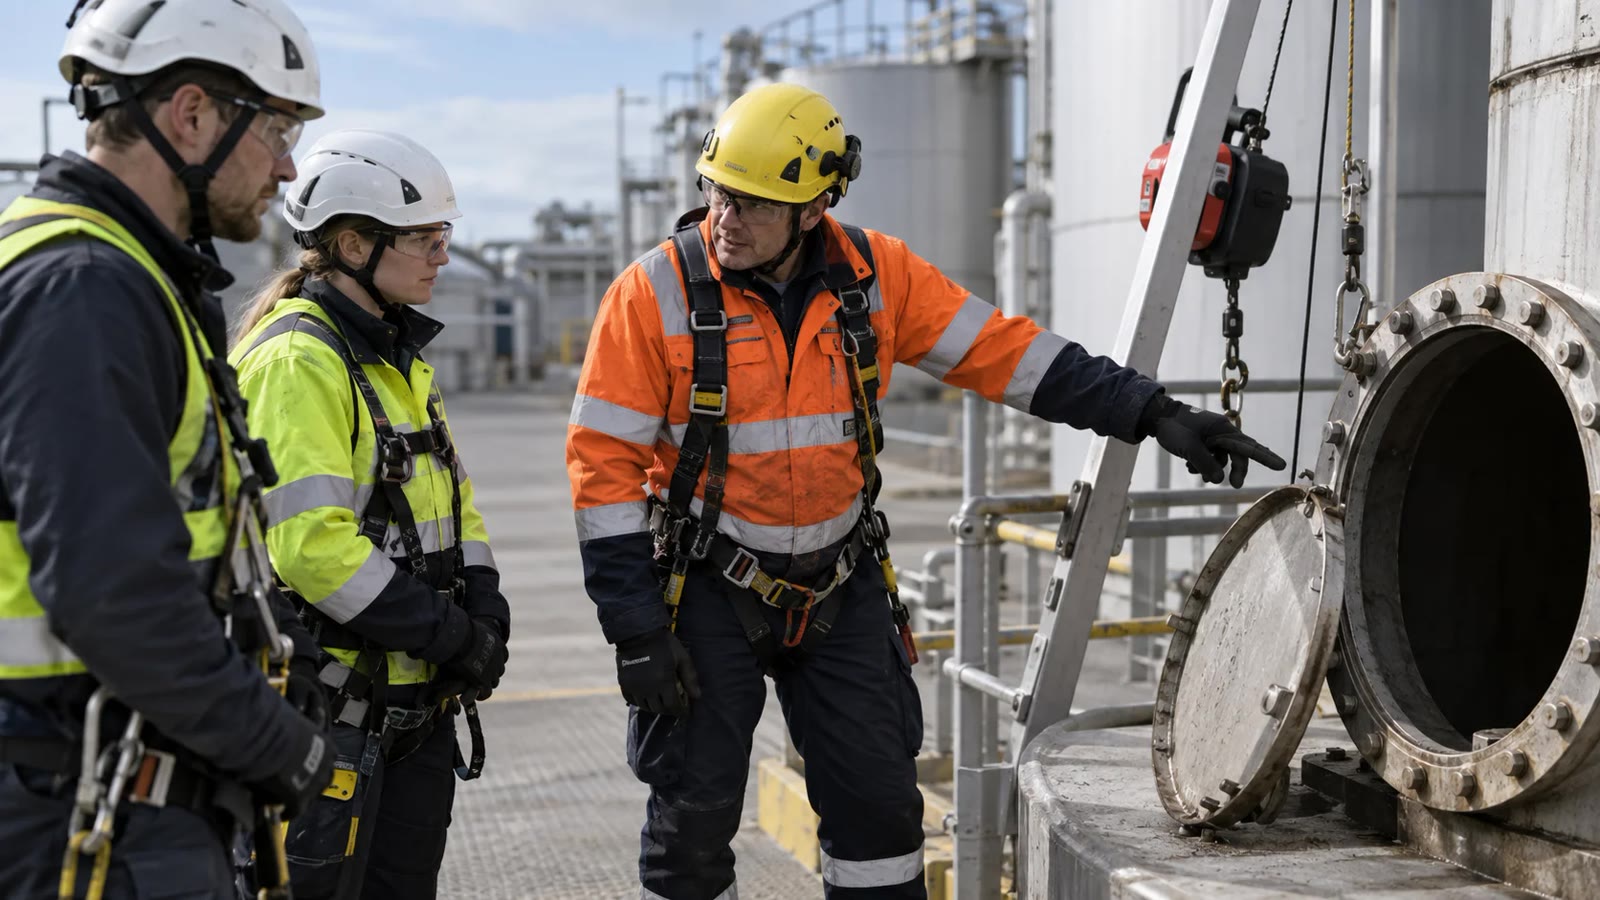
Part One established the safe system: avoid entry where possible, then provide suitable access, equipment, supervision, testing, and isolation for the entry that remains. This module looks more closely at hazards that can develop during cleaning and maintenance.

Residues in a tank, silo, drain, or chamber may be industrial deposits or naturally produced materials. Their nature can change when stirred, mixed, heated, or exposed to air. We will examine how to remove them without creating a new atmospheric hazard.

Ventilation deserves careful planning. We will compare a general fresh-air supply with extraction at a contamination source and examine why a fan alone cannot replace testing.

We will assess electrical equipment, static discharge, mechanical tools, portable cylinders, fixed gas lines, and flexible hoses. Each item can affect ignition risk, air quality, and the worker’s ability to leave.

Finally, we will plan PPE and fire prevention, then use a permit to work to coordinate higher-risk entries. The written permit provides clear limits and sign-offs while the actual safety comes from correctly applying the planned measures.

What You Will Cover
What You Will Cover

This part of the course explores:

  • Cleaning and removing dangerous residue
  • General ventilation and extraction close to the source
  • Electrical equipment and static-charge control
  • Choosing machinery that suits an enclosed work area
  • Cylinders, fixed gas lines, and flexible hoses
  • Selecting and checking personal protective equipment
  • Preventing fire by managing fuel, ignition, and oxygen
  • When and how to operate a permit-to-work system
Remove Deposits Without Creating New Hazards

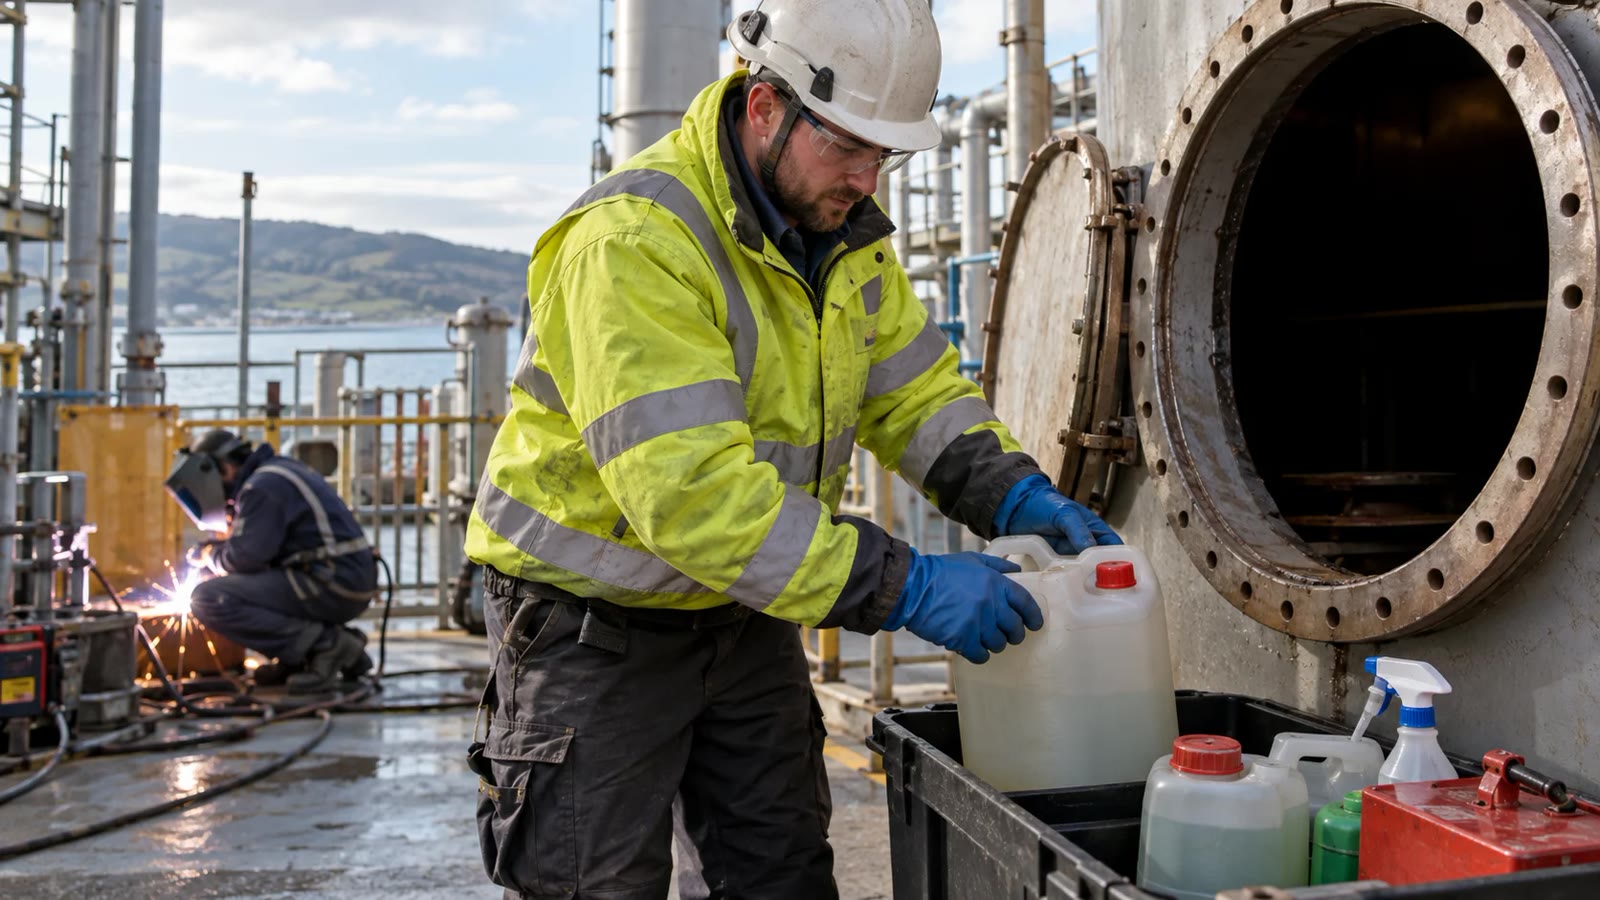
Material left inside a vessel is not automatically harmless simply because the main contents were drained. A deposit may be flammable, toxic, oxygen-consuming, or capable of producing a dangerous cloud when disturbed.

Cleaning is common in confined-space work for two related purposes:

  • Between products, removing the previous contents helps prevent contamination and unwanted chemical reactions. Assess the cleaning method, the displaced atmosphere, and the destination of removed material.
  • Before maintenance, cleaning reduces the chance that heat, sparks, cutting, or chemical treatment will release toxic gas or ignite a residue. A hot-work permit cannot compensate for a coating or sludge that has not been adequately assessed.
Recognise What Residues Can Do

Deposits may come from the process, biological activity, corrosion, or an earlier cleaning operation. Identify the actual substance and its condition before choosing how to remove it.

Examples include solvents, detergents, sludge, rust, waste, bacteria, grain dust, and flour. The risk can increase sharply when material is stirred, washed, heated, or combined with a new product:

  • Disturbed sewage or slurry can release hydrogen sulphide and other gases; a poorly ventilated space may also become oxygen deficient. Some gases can incapacitate a worker before they can call for help.
  • A new material introduced to a tank can react with traces of the previous contents, creating heat, hazardous vapour, fire, or an explosion. Confirm compatibility and thoroughly inspect and clean beforehand.
  • Corrosion and microorganisms can consume oxygen gradually, including during a period when the opening appears undisturbed. Take suitable readings at relevant depths and keep monitoring if the process continues.
Plan the Cleaning Sequence

If residues remain, write a cleaning method that considers both the worker inside and people near the opening. Do not start by adding another chemical or gas without understanding how it will react with the material already present.

  • Purging can displace or flush a contaminant, but a purge using nitrogen creates an oxygen-deficient atmosphere. Keep people away, control the discharge point, test before entry, and never treat purging as proof that the space is safe to breathe.
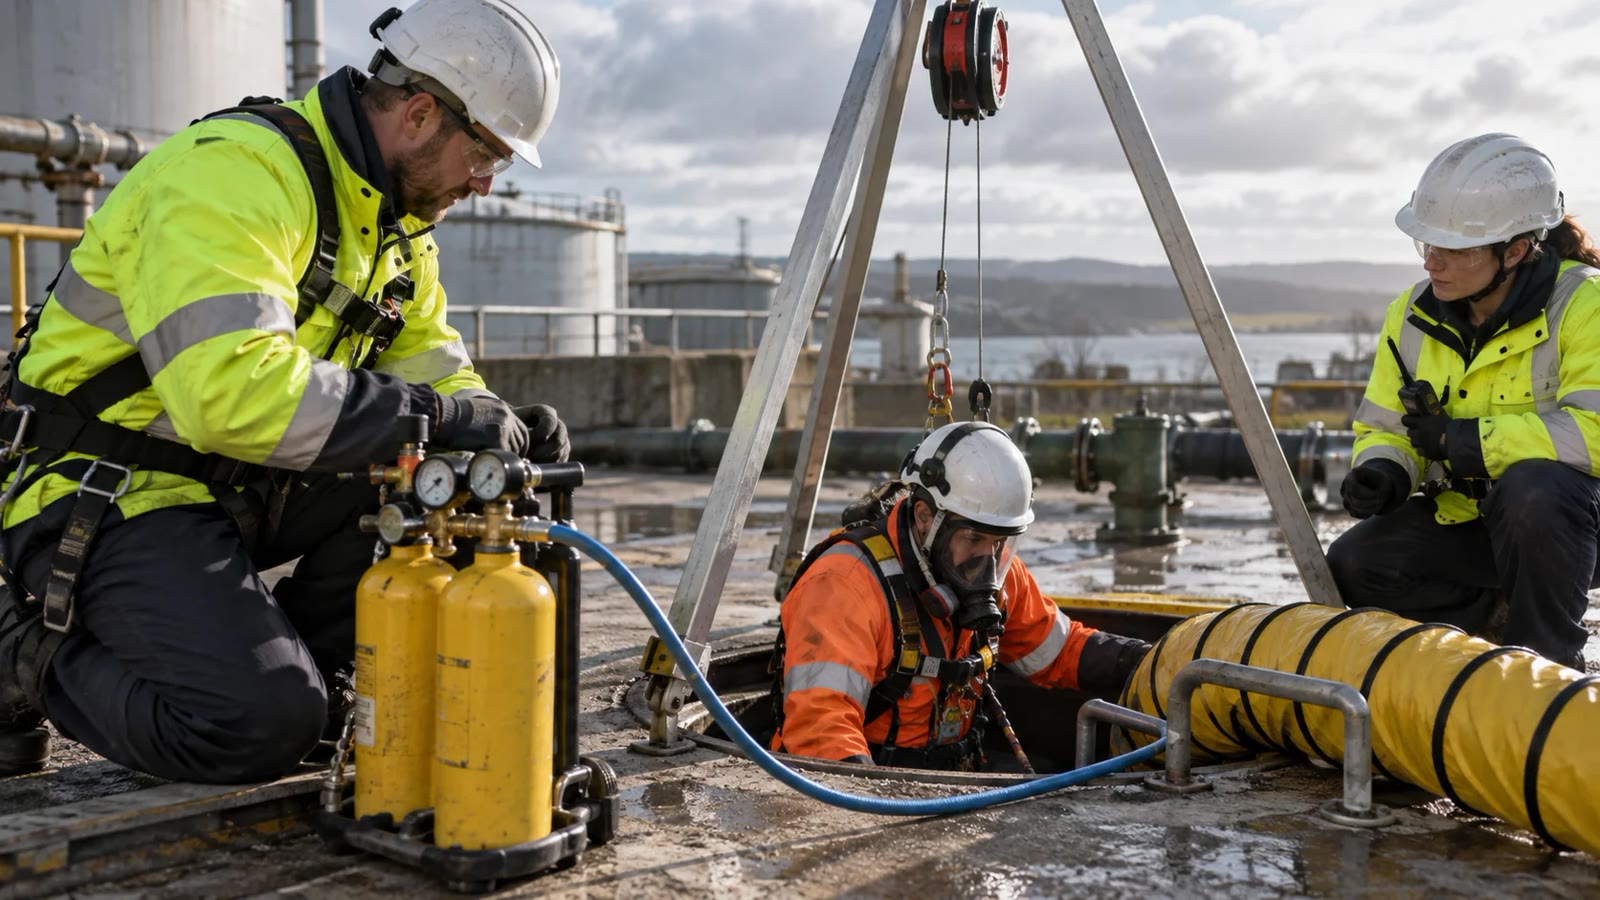
  • Mechanical ventilation can supply clean fresh air and help remove airborne contaminants. Locate the intake away from vehicle exhaust and plant emissions; never enrich the space with oxygen or pull dirty air back through the opening.
  • Select tools that suit any potential flammable atmosphere. Battery power or a low-voltage label does not by itself make a light or tool ignition safe. Use equipment correctly rated for the assessed zone and check it before work.
Ventilation Is a Planned Control

Choose a ventilation arrangement before the first entrant approaches the opening. Natural movement of air may be weak or unpredictable, especially around baffles, bends, or materials that continue to release gas.

Fresh air replaces oxygen consumed by people or processes and dilutes airborne hazards; local extraction captures dust, vapour, or fumes near their point of generation. Supply and extraction have different jobs and may be needed together.

A competent assessor should examine:

  • The size, shape, and internal layout of the enclosure
  • Whether any natural air movement is reliable
  • The number, position, and size of available openings
  • Existing or newly created sources of hazardous gas or dust
  • Hidden pockets, low points, and barriers where contaminants can gather
General and Local Ventilation

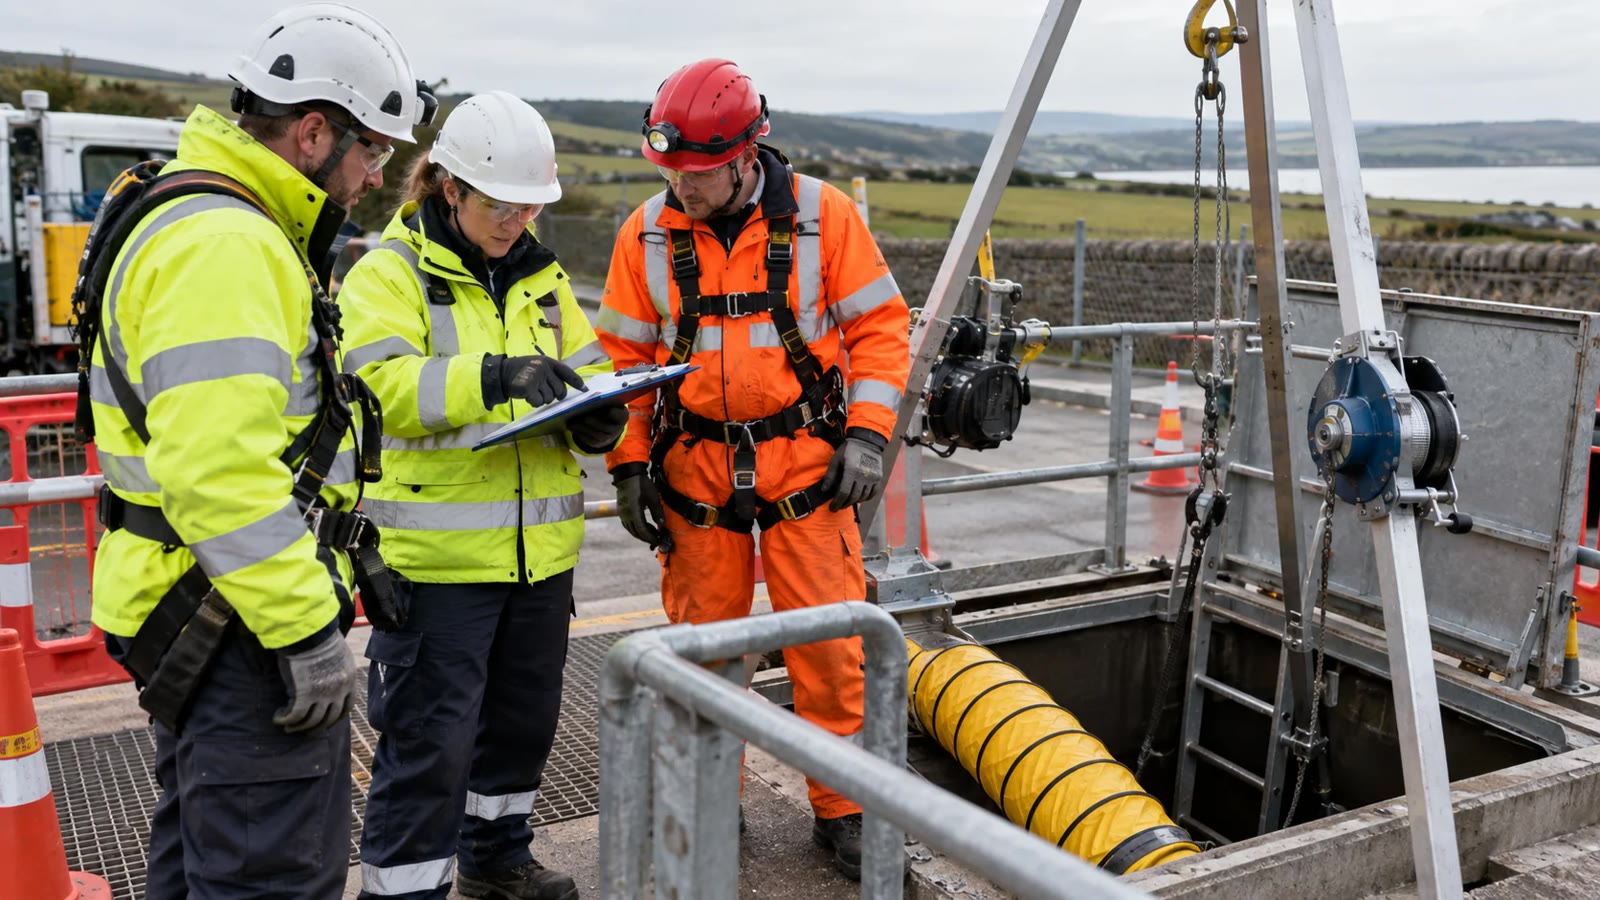
Fans, ducts, and local extractors can move air through a space when natural flow is insufficient. The aim is a reliable supply of uncontaminated air at the worker’s position and effective removal of contaminants.

Position the inlet away from exhaust, traffic fumes, generators, and the extracted discharge. Check that outgoing air cannot flow back inside or expose people at another opening.

A vessel with well-placed upper and lower openings may sometimes have adequate natural flow. This depends on real movement through the work area, not simply on the existence of two holes.

A combination of natural and forced ventilation may be necessary for internal corners or changing work activities. Monitor the atmosphere and check that air reaches the relevant points.

Only rely on natural ventilation after a competent assessment demonstrates it remains effective for the entire work period. A calm day, a closed door, or a change in process can alter conditions. Test at appropriate locations and intervals. More complex shapes and substances require a tailored plan that identifies duct positions, flow checks, alarm limits, and what to do if the fan stops.

Ventilation Mistakes to Avoid

Extracted air

  • must discharge where it cannot return through an opening or affect workers nearby. Check the airflow under actual site conditions. Fans and ducting
  • must not block access, the emergency retrieval route, or a worker’s exit. Secure hoses and protect them from damage. You
  • must never feed oxygen from a cylinder into a confined space to improve breathing air. Enrichment makes many materials ignite more easily and burn fiercely; it can also lead to uncontrolled atmospheric conditions. Explain this prohibition in the briefing. A ventilation plan is effective only while the equipment runs and the supply stays clean. If airflow changes or monitoring alarms, withdraw and reassess before restarting.
Electrical Equipment and Ignition

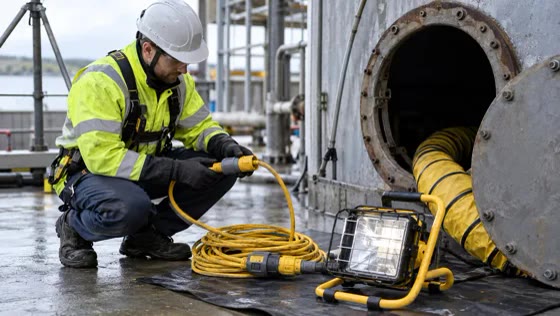
Reduce the amount of electrical equipment brought inside. Choose only what is necessary and assess its power supply, condition, cables, position, and suitability for the atmosphere and wet or conductive surroundings.

If flammable gas, vapour, mist, or dust may be present, remove ignition and static-discharge sources. Even a portable lamp or a connection being unplugged can create enough energy to ignite a mixture under the wrong conditions.

A reduced supply voltage does not automatically prevent an ignition spark. Electrical-shock protection and explosion protection solve different problems and both may be needed.

Where fire or explosion remains foreseeable, avoid unnecessary equipment; where equipment is needed, select products suitable and certified for the assessed explosive atmosphere. Confirm the specification and condition of lighting and tools before entry; use a competent person to check both ignition and electric-shock risks.

Control Static as Well as Electricity

Friction, flowing material, and spray processes can build electrical charge. A discharge may then ignite a flammable atmosphere even if the powered equipment itself is correctly selected. Consider static at every transfer or cleaning stage:

  • Metal ducts, pipes, and airlines can need effective bonding and earthing; verify continuity for the actual installation.
  • Plastic hoses and other insulating components can accumulate charge. Select materials intended for the service and ensure the connection arrangements prevent dangerous discharge.
  • High-pressure water or steam jetting can create charged mist. Assess alternative methods, appropriate equipment, and how vapour or gas could be released from deposits.
  • Clothing and footwear can affect charge dissipation. Choose protective garments suitable for the identified static and fire risks, and check their fit with other PPE.

Review static controls together with the electrical plan. A metal tank can also increase shock danger; use suitable protected supplies, isolation, and residual-current protection where the assessment requires them.

Select Mechanical Equipment Carefully

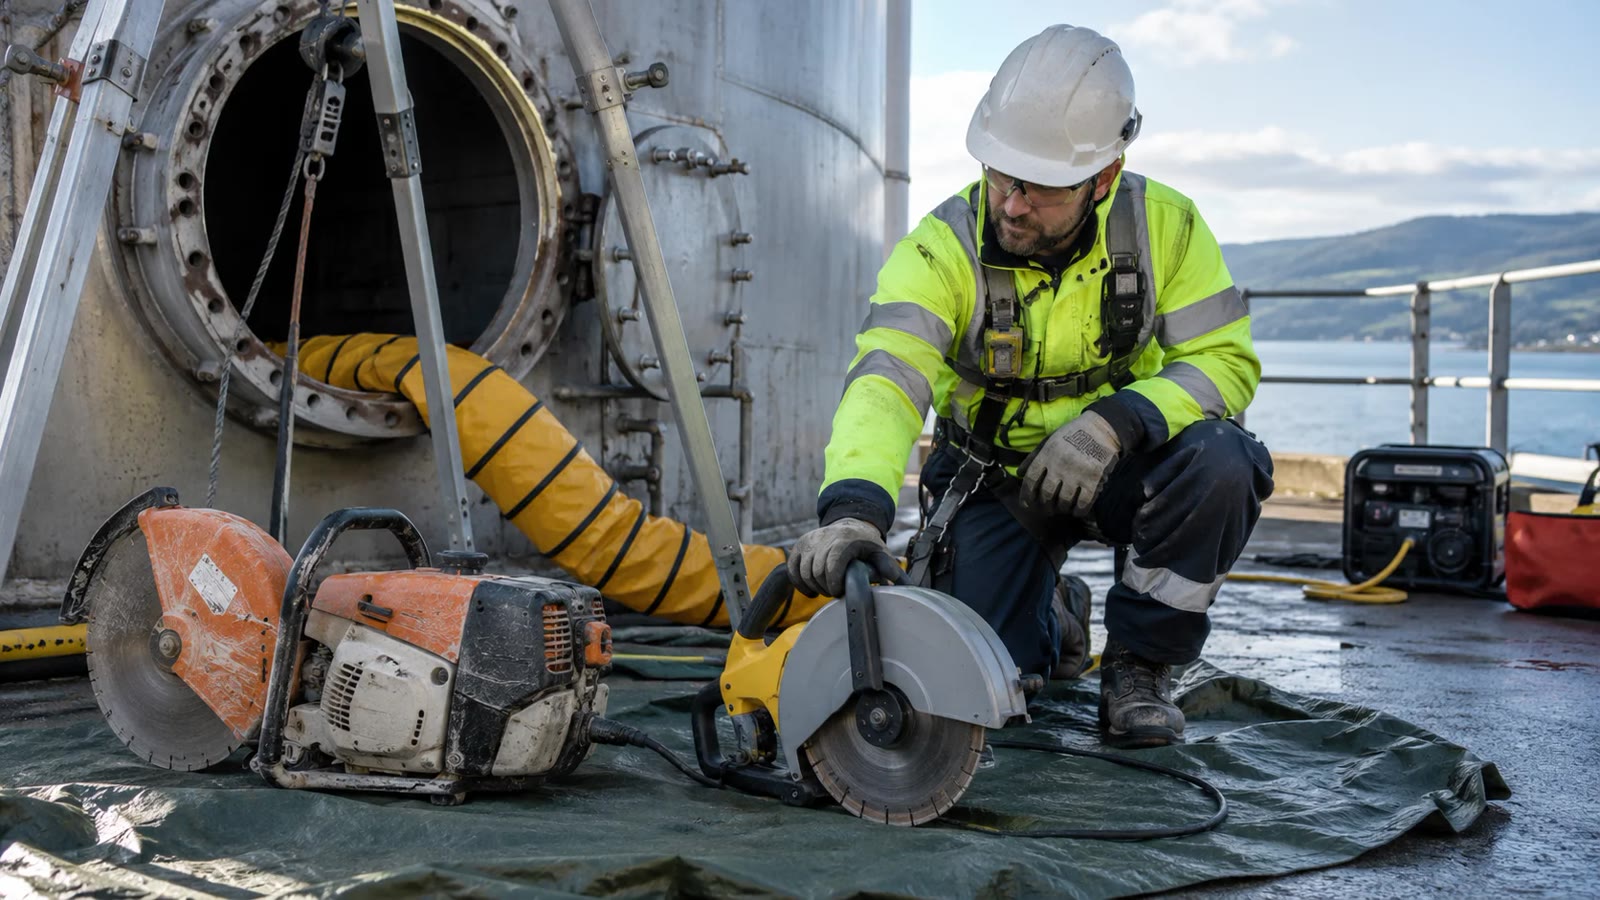
Powered tools can add noise, vibration, heat, exhaust, moving parts, and restricted movement to an already difficult work area. Check whether an external or remote method can do the job first.

  • Secure and position heavy equipment so it cannot tip, roll, or obstruct the exit. Include lifting, unloading, and retrieval in the task plan.
  • Avoid petrol engines inside. Petrol vapour and engine exhaust add serious fire and atmosphere hazards. Use a safer drive system where practicable.
  • Avoid diesel engines inside unless a specific assessment demonstrates there is no reasonably practicable safer method. Locate them outside whenever possible and control hoses or exhaust connections.

If an engine is exceptionally required within a large space, provide effective ventilation and exhaust removal, monitor air quality, check leaks, and refuel outside the enclosure. Define supervision and stop-work triggers.

Cylinders, Gas Lines, and Hoses

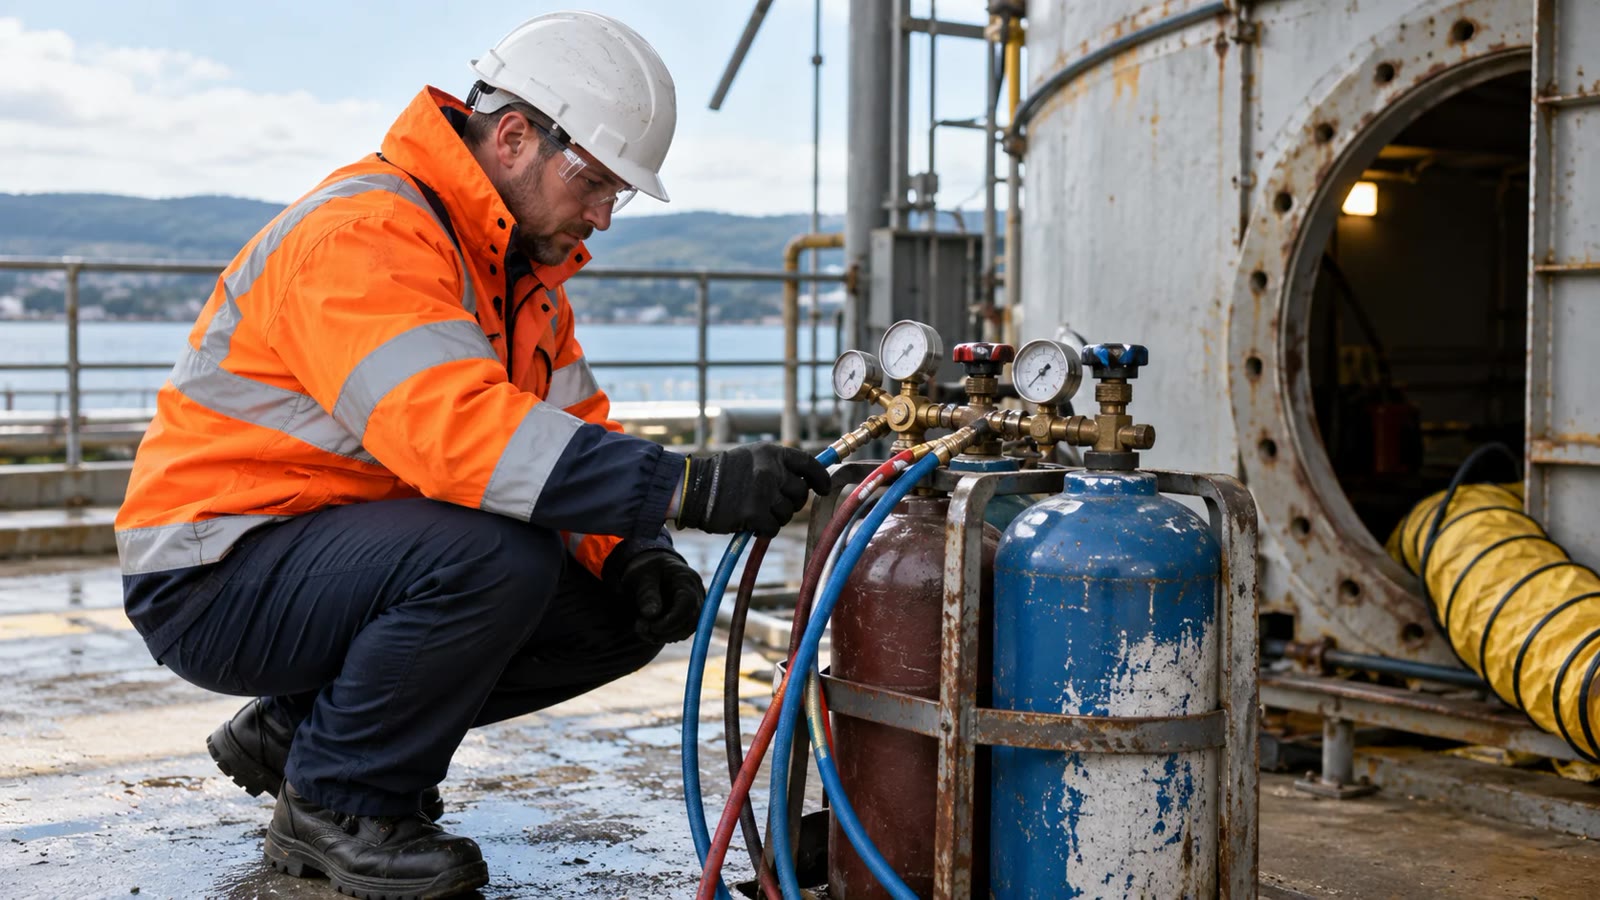
A portable cylinder or fixed gas line can leak, displace oxygen, release a toxic substance, or feed a fire. Restrict its use and ask whether the work can be redesigned to keep the supply outside.

Only use a cylinder arrangement justified by the assessment, with competent supervision and precautions matched to the gases and space.

Before work, the plan should include:

  • Inspecting hoses, manifolds, regulators, burners, and pipe connections; reject damaged parts.
  • Keeping cylinders outside wherever practicable and removing temporary supplies promptly after the task or shift.
  • Ensuring suitable clean-air ventilation and local extraction for the process being carried out.
  • Securing, protecting, and routing hoses; isolate supplies outside after use and prevent gas accumulation.
  • Using appropriate atmosphere monitoring during operations when a release could change the air.
  • Providing a competent supervisor who checks how the system is used and responds when conditions change.
PPE Supports Stronger Controls

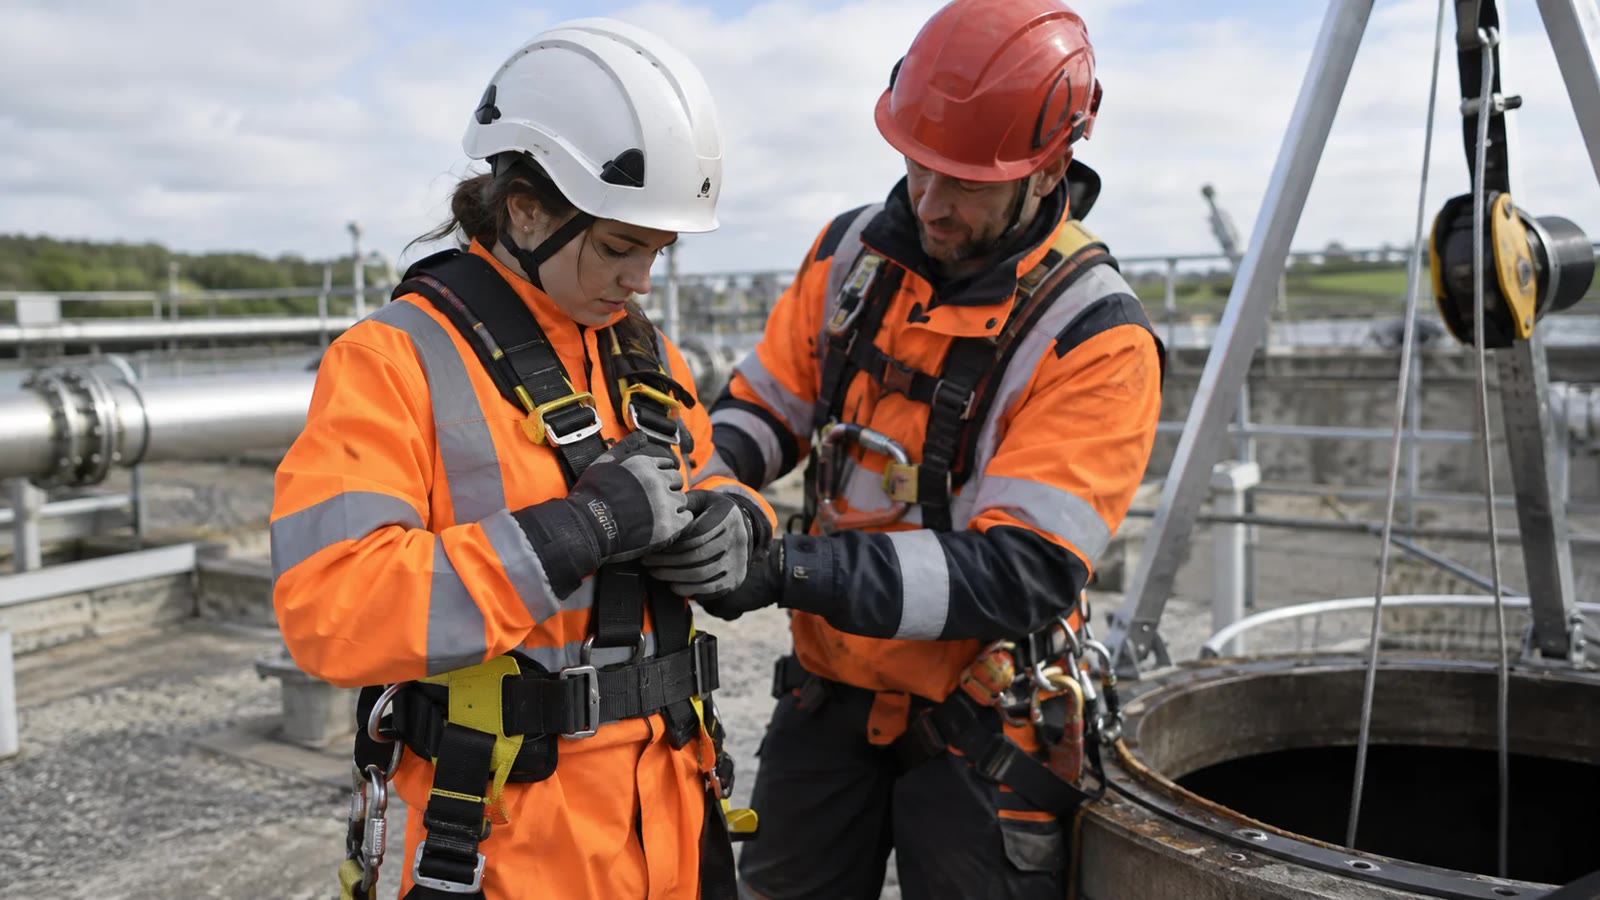
Personal protective equipment is the final layer of the hierarchy. It protects an individual only when it is selected, fitted, used, and maintained properly; it cannot remove a gas source or replace reliable ventilation.

Instruction, fit checking, storage, routine examination, and supervision are part of the measure. A poorly fitting respirator or damaged harness may fail when the worker needs it most.

PPE can increase heat strain, fatigue, and the difficulty of moving through a narrow opening. Assess how long someone can work in it and how an incapacitated person could be recovered.

Start with eliminating entry, substitution, isolation, engineered controls, and a safe method. Add PPE for residual risks shown by the assessment, not as an excuse to skip those earlier decisions.

Common items include helmets, gloves, suitable boots, eye protection, and antistatic clothing where needed. Harnesses, retrieval lines, respiratory protection, or breathing apparatus require a plan for safe use.

The Personal Protective Equipment at Work Regulations 1992, as amended, also set duties for selecting and providing work equipment and PPE. Apply the rules that match the jurisdiction and equipment.

Provide and Maintain Suitable PPE

When protective equipment is part of the agreed method, the employer should:

  • Provide suitable items without charge, with the correct fit for each worker and compatibility between helmet, eye protection, respirator, and other gear.
  • Explain when each item is needed, what hazard it addresses, and how a wearer checks it before entry.
  • Give practical instruction for respiratory protection, including fit, seal checks, safe removal, cleaning, and storage.
  • Arrange competent inspection and maintenance at intervals appropriate to the equipment and the manufacturer’s instructions.
  • Check the applicable conformity marking and documentation; inspect the actual item because a certificate does not show whether it was damaged in use.
Prevent Fire Before It Starts

Fire prevention begins while planning the task; emergency response starts after ignition has occurred. In a confined space, smoke, heat, and an awkward escape route make the first approach essential.

A fire needs three components:

  • Ignition: a spark, flame, hot surface, welding operation, or electrical fault.
  • Fuel: vapour, gas, solvent, plastic, paper, coating, or a suspended combustible dust such as flour.
  • Oxygen: normally present in air; a leak from an oxygen system can intensify a fire.

This is the fire triangle. Preventing any one of the three from being available in the dangerous combination stops ignition; check how your work could introduce or increase each component.

Break the Fire Triangle

Fire control means removing or limiting fuel and ignition sources and avoiding oxygen enrichment. Do not regard a safe reading taken before work as protection from a leak or a new hot-work activity.

If one component cannot be fully removed, apply suitable technical and procedural precautions and verify them while the job continues:

  • Clean residues and check that they have been removed from places the work may heat or disturb.
  • Limit flammable materials; bring in only the amount needed and remove remaining products promptly. If material must stay, contain it according to the assessment.
  • Keep fuel storage outside unless the space is designed for it and the task requires it. Avoid petrol-powered equipment and assess any necessary diesel use closely.
  • Control ignition through suitable tools, protected lighting, bonding, static-safe clothing where needed, and additional precautions for hot work.
  • Never add oxygen to improve air quality; enrichment can make ordinary materials ignite and burn dangerously. Use suitable clean-air ventilation and monitoring instead.
Knowledge Check
A static discharge occurs near a flammable vapour. Which side of the fire triangle has it supplied?
Select one answer, then press Check.
Fuel
Oxygen
An ignition source
Nothing: static cannot start a fire
Correct. A static spark is an ignition source; removing ignition sources breaks one side of the triangle.
Not quite. Fuel and oxygen are already present here. Think about what a spark adds, and try again.
The Permit to Work
The Permit to Work

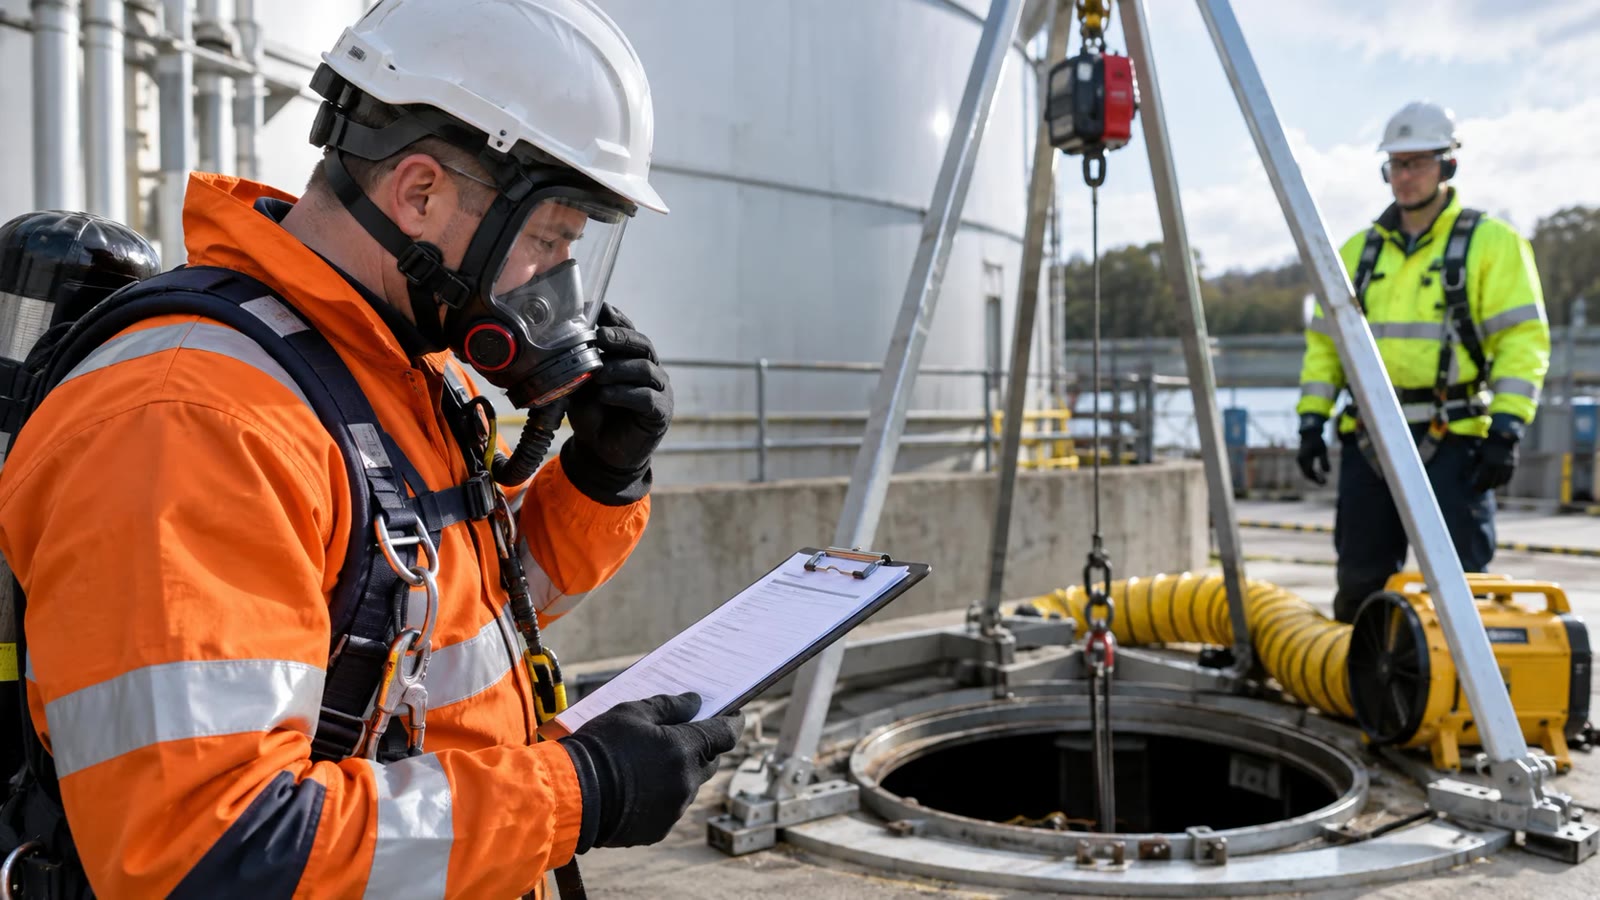
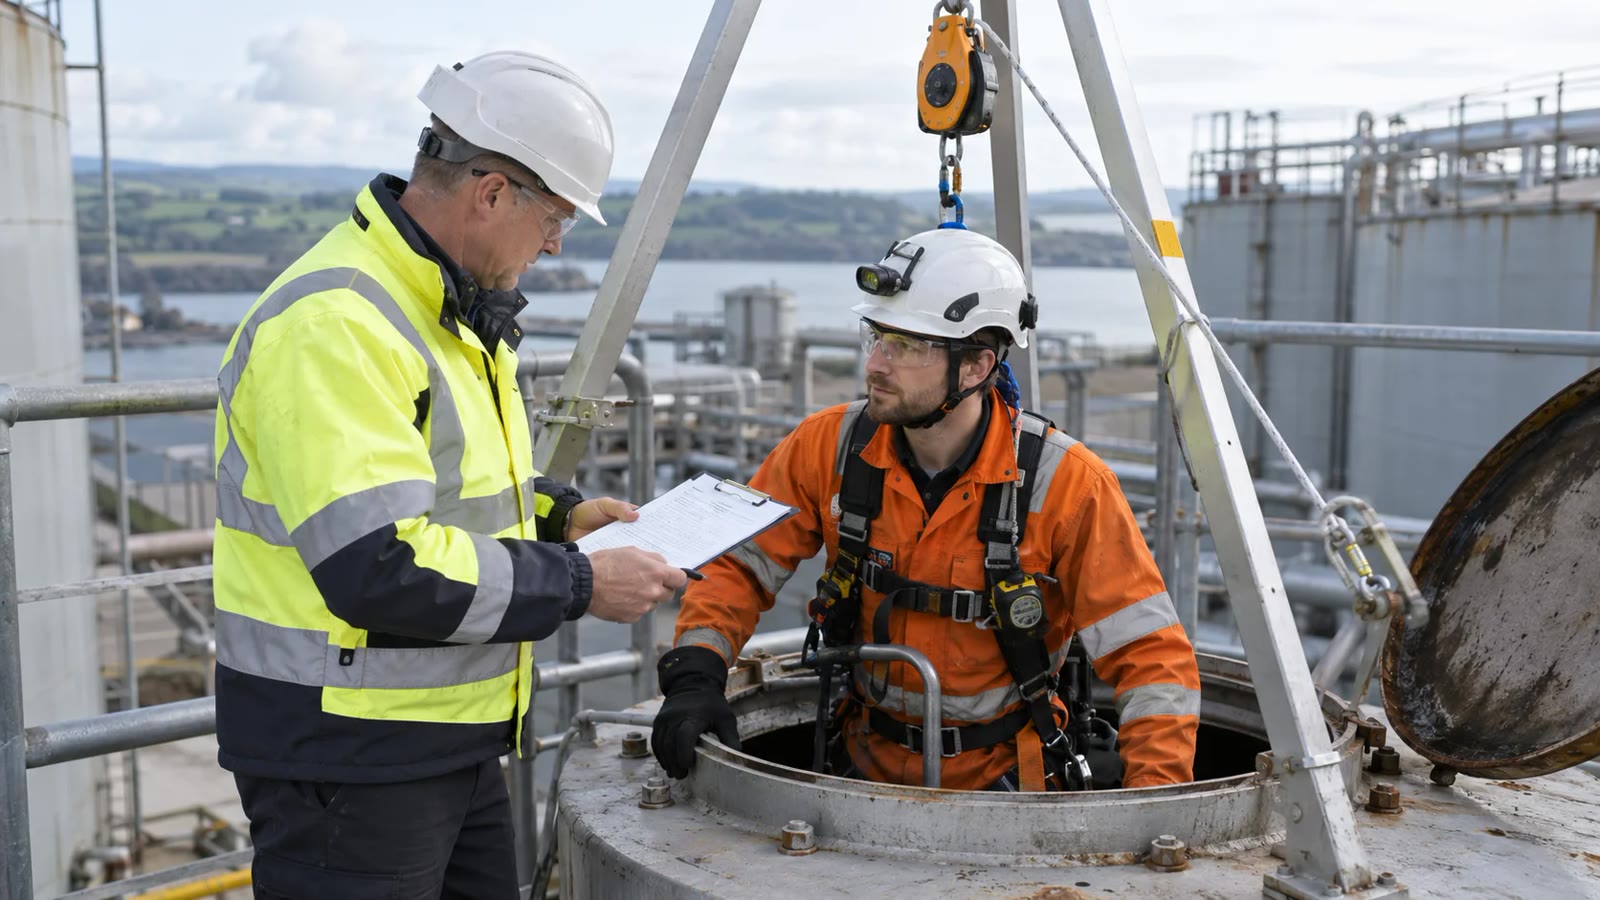
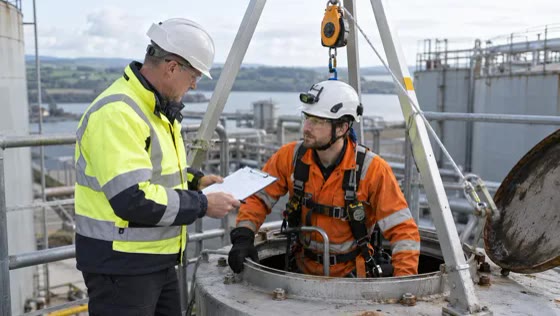
A permit is a controlled written authorisation for a clearly defined job. It coordinates the checks and people required for an entry where the assessment shows a significant risk.

Examples include a foreseeable serious injury from toxic gas, an unsafe atmosphere, fire, or explosion. The assessment determines the level of control rather than the name of the space alone.

A signed form is one element of the safe system; the team must still carry out the isolation, ventilation, testing, communication, and rescue arrangements it specifies.

An authorised, competent person should issue the permit after verifying the precautions. The supervisor checks that the authorised work follows the agreed boundaries and that everyone understands the conditions.

A permit does not make an unsafe job safe; it records the scope, responsible people, checks, limits, and conditions under which work must stop.

A competent assessment may conclude that a formal permit is unnecessary for a simpler task, provided an effective safe system still exists.

  • That decision depends on: Hazards being straightforward to control using a clear and verified work method.
  • Other activities not being likely to undermine the controls while people are inside.
Make the Permit Specific

A permit must identify the actual enclosure, work scope, people, and valid period; do not use a generic document for a different vessel or a changed task.

If a process still creates fuel or ignition, describe the restrictions and the verified measures that keep the risk controlled. Confirm that necessary equipment is suited to the assessed atmosphere.

Set out the start and finish conditions, including how work is stopped, how the team leaves, and who closes the authorisation after final checks.

A different job, new tool, or changed process requires review and often a new permit. The document supports, but cannot replace, the risk assessment and the safe system.

Entrants, attendants, contractors, supervisors, and rescue personnel must be competent for their respective roles and understand the limits written into the permit.

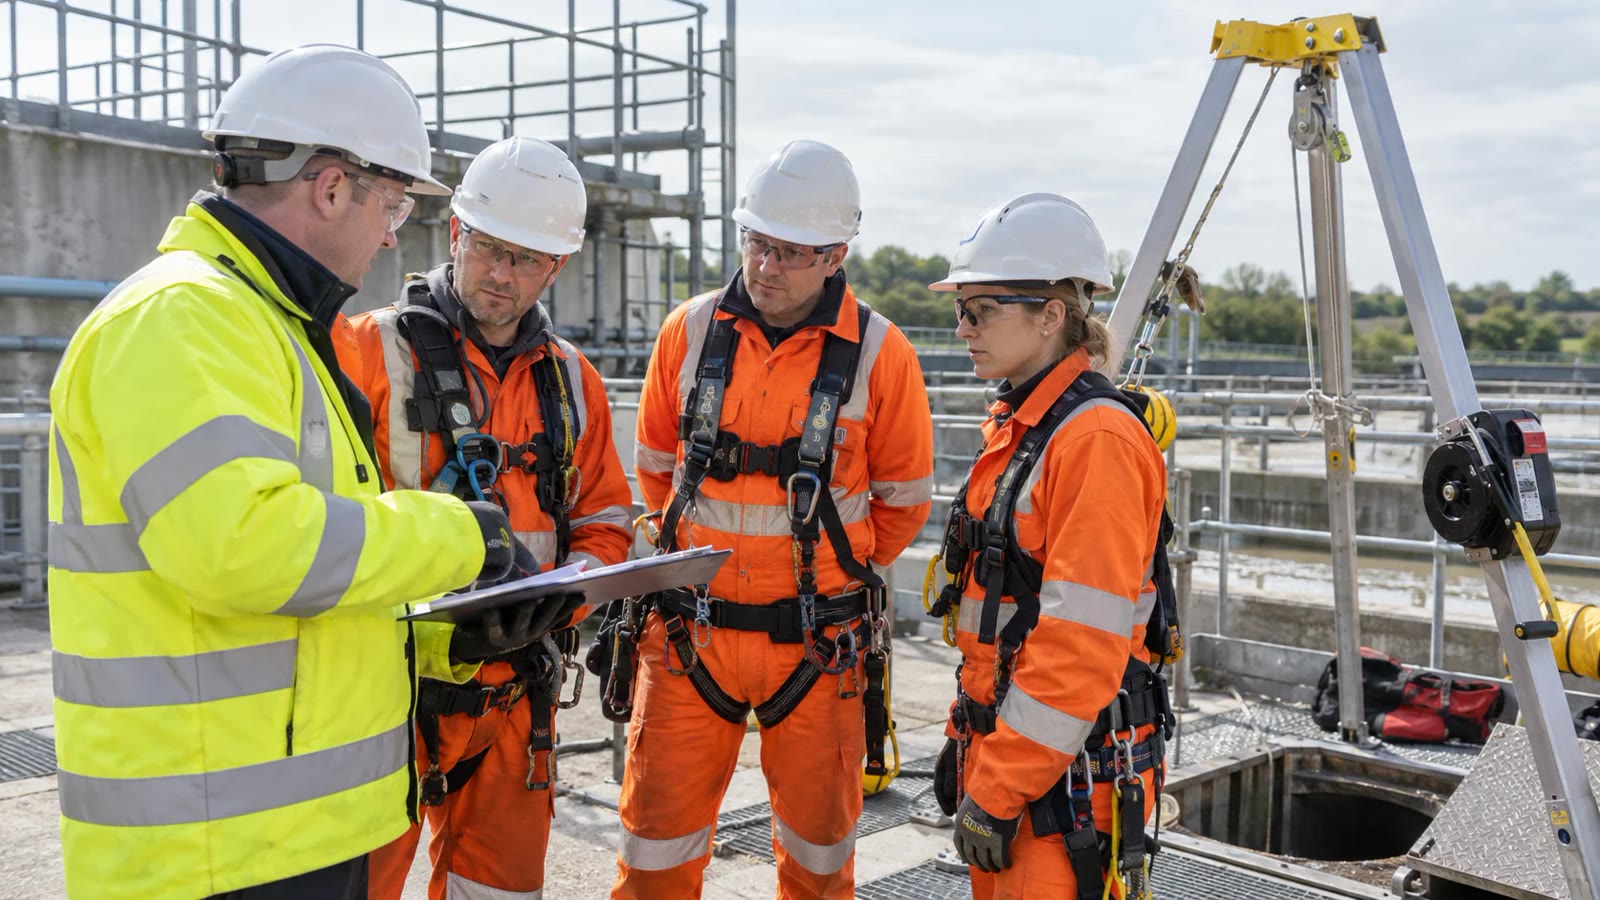
Brief everyone before entry and again after any change; check that they can explain the hazards, alarms, rescue plan, and who has authority to suspend the job.

What to Put on a Permit

A useful permit records information the entry team and supervisors can act on:

  • Names and roles of the issuer, supervisor, attendant, entrants, and any contractor responsible for a part of the task.
  • The exact location, specific job, method, authorisation time, and conditions limiting the work.
  • Hazards, isolations, ventilation, testing points and intervals, equipment restrictions, communication checks, and instructions for stopping work.
  • The prearranged rescue method, emergency contact, foreseeable risks to rescuers, and any breathing or retrieval equipment required.
  • The PPE and other protective equipment assigned to each role.
  • The authorised issuer’s sign-off before work begins, with any additional specialist approval required for hot work or other hazards.
Handover and Closure

A permit also needs a record of how the work was accepted, handed over, and closed:

  • Entrants and other participants acknowledge the task limits and confirm they have received the relevant briefing and instruction.
  • At a shift change, incoming responsible people check the space and precautions rather than relying on the earlier signature; record handover and brief anyone remaining on the job.
  • The person controlling the work confirms that it is complete, tools and people are out, and temporary arrangements have been dealt with.
  • The issuer verifies the final checks, authorises formal closure, and coordinates any return to normal operation.

Set a definite expiry time rather than leaving an open-ended permit. A single shift is a common limit, but the site assessment may set a shorter period. usually limited to one shift unless the assessment sets a shorter period. Do not close the permit or return the plant to service until everyone has left and required final checks, including atmosphere readings, confirm the enclosure is ready.

Summary

This part has shown how several ordinary work activities can rapidly change conditions inside a confined space:

Identify and remove hazardous residues before work. Select a cleaning method that does not create toxic gas, oxygen deficiency, ignition, or uncontrolled discharge. Supply uncontaminated air, capture contaminants near their source where necessary, and verify that ventilation works throughout the entry. Never enrich the atmosphere with oxygen.

Choose electrical and mechanical equipment that fits the hazard, and control static electricity, exhaust, cylinders, hoses, and gas supplies. A low-voltage label alone does not make equipment ignition safe. Use suitable PPE only after stronger controls have been considered. Train each wearer and inspect, fit, and maintain the equipment for the job.

Prevent fires by controlling fuel, ignition, and oxygen. For higher-risk work, an authorised permit states the task limits, checks, team responsibilities, and handover and closure process. Review the permit whenever the task or conditions change. Close it only after all entrants have left, equipment is safe, and the person responsible has completed the agreed final checks.

In the final module, we will plan the emergency arrangements that must be ready before anyone enters.

Knowledge Check
What does purging a confined space involve?
Select one answer, then press Check.
Using a fan during entry as the only evidence that the atmosphere is safe.
Displacing or flushing contaminants with a suitable gas or air under a controlled plan, then testing before entry.
Pumping oxygen into the space until the air feels easier to breathe.
Correct. Purging displaces contaminants, but can itself create oxygen deficiency; assess the discharge and verify the atmosphere before entry.
Review the difference between moving contaminants out and adding oxygen. Select the controlled purge and testing method.
Next Module →Answer the question to unlock the next module.
Page 1 of 24